


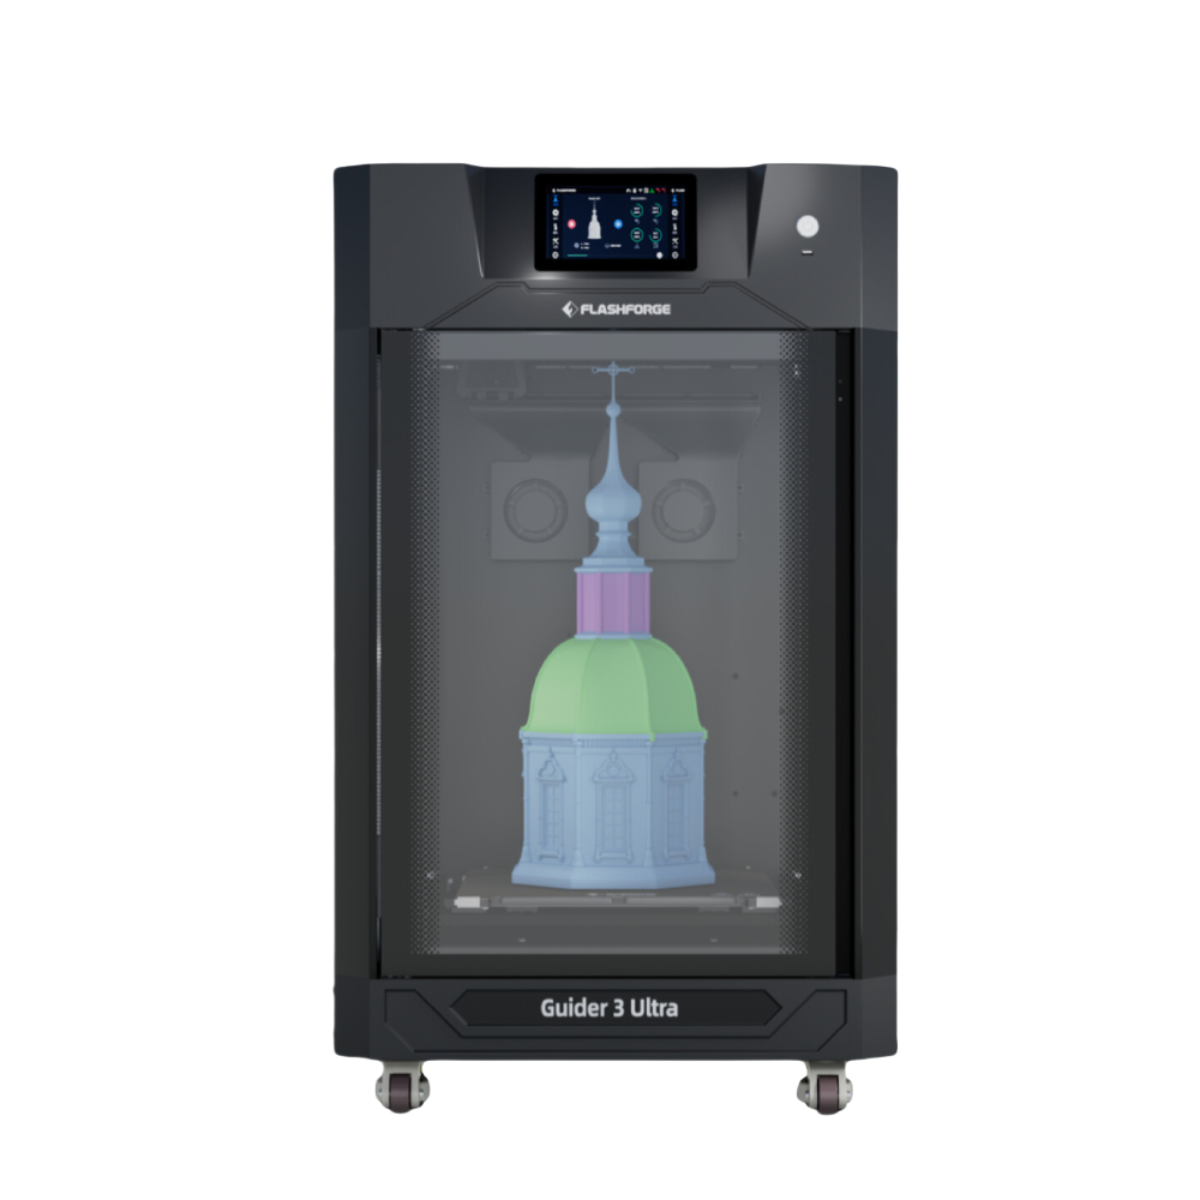


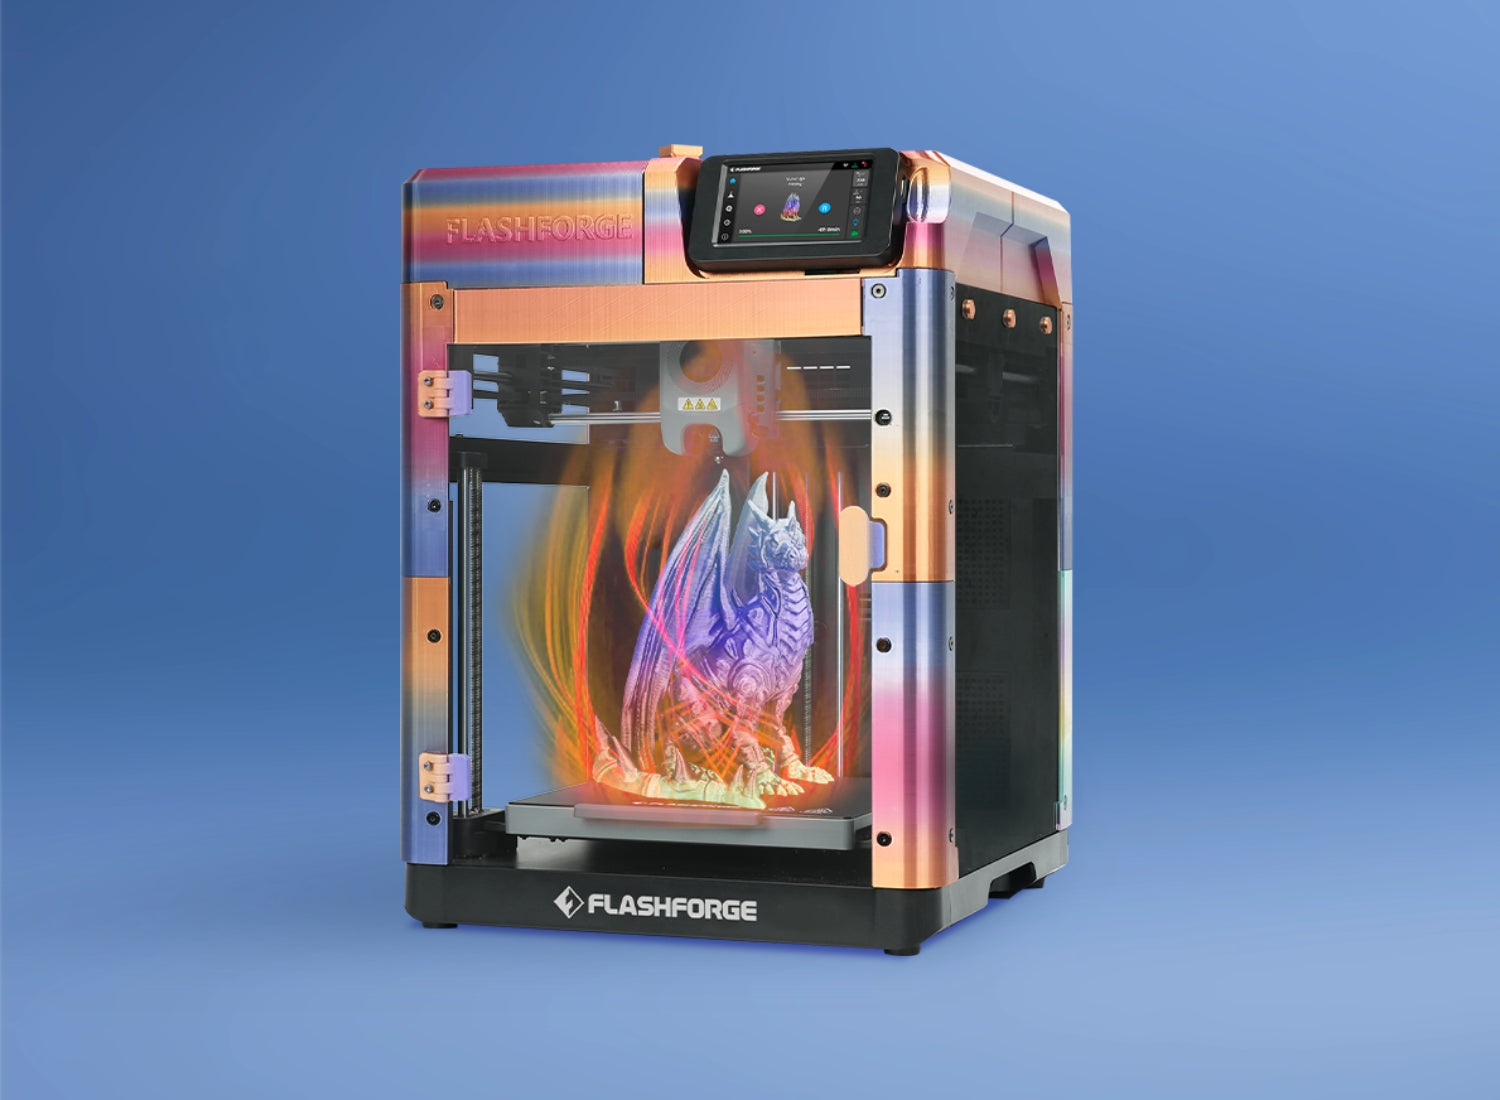
Introduction: Why Every Adventurer 5M Owner Needs This Enclosure?
3D printing enthusiasts know that an open-frame printer like the Flashforge Adventurer 5M has limitations—especially when printing advanced materials like ABS or ASA. That's where the Flashforge Adventurer 5M Enclosure Kit comes in.
This comprehensive guide covers:
✔ 5 key benefits of using an enclosure (safety, noise reduction, temperature control, and more)
✔ Step-by-step assembly with official resources & user tips
✔ Best filaments for printing custom enclosure parts
✔ Where to download free model files and tutorials
By the end, you'll know exactly how to transform your Adventurer 5M into a high-performance, enclosed 3D printer—whether for professional prototyping or home use.

5 Key Benefits of the Adventurer 5M Enclosure Kit
1)Enhanced Safety – Protect Users & Equipment
- Blocks accidental contact with the 190–280°C hotend and 50-110°C print bed.
- Keeps dust & debris out, preventing print failures and component wear.
- Child & pet-friendly—no exposed moving parts or hot surfaces.
2) Odor & Fume Control for Healthier Printing
- Reduces ABS/ASA fumes
- Optional upgrades: Add a HEPA filter
- Ideal for home/office use—no more strong plastic smells
3) Noise Reduction – From 65 dB to 55 dB around
- Quieter than a dishwasher (comparable to a quiet conversation)
- Acoustic foam mods can further reduce fan and motor noise
4) Stable Temperature for Warp-Free Prints
- Maintains 40–50°C chamber temp—critical for ABS, ASA, PETG
- Eliminates drafts that cause layer separation and warping
5) Modular & Customizable Design
- Mix OEM panels with 3D-printed parts (magnetic latches, tool holders)
- Personalize with multicolor PETG/ASA accents
What’s Included in the Official Enclosure Kit?
1) Included Components (No Printing Required)
- Pre-cut acrylic/polycarbonate panels (side, top, front)
- Aluminum frame brackets (CNC-milled for perfect fit)
- Magnetic door hinges (tool-free access)
- Cable management ports (EMI-shielded)

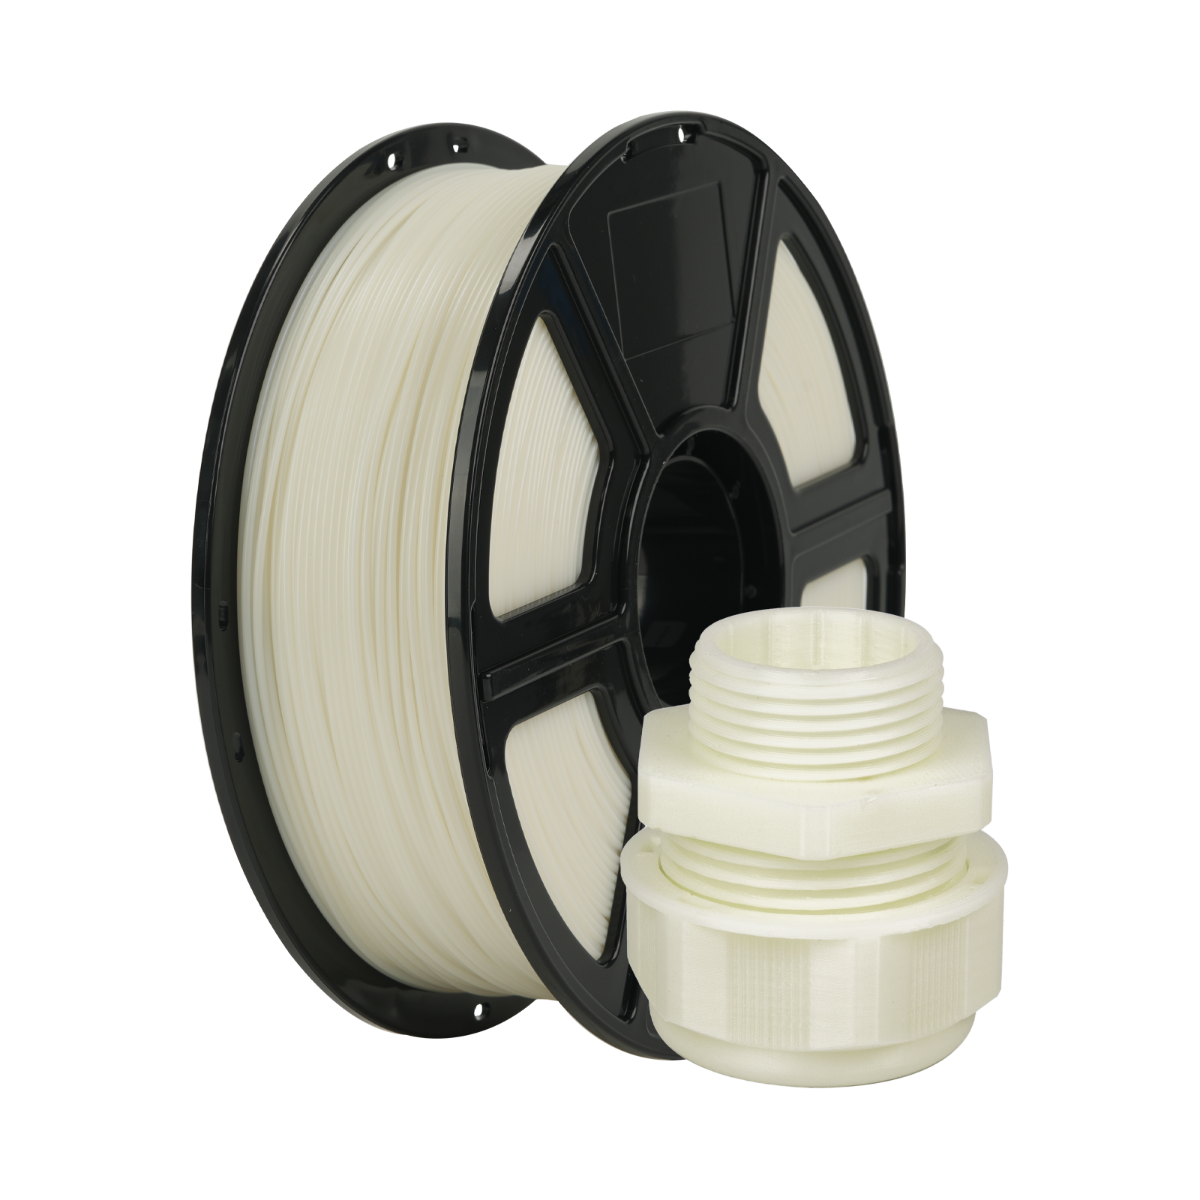
2) Required 3D-Printed Parts (Free Downloads)
- Corner joints (use PETG for durability)
- Ventilation covers
- Custom mods (spool holders, LED mounts)
Pro Tip: Print PETG parts at 100% infill for load-bearing joints.
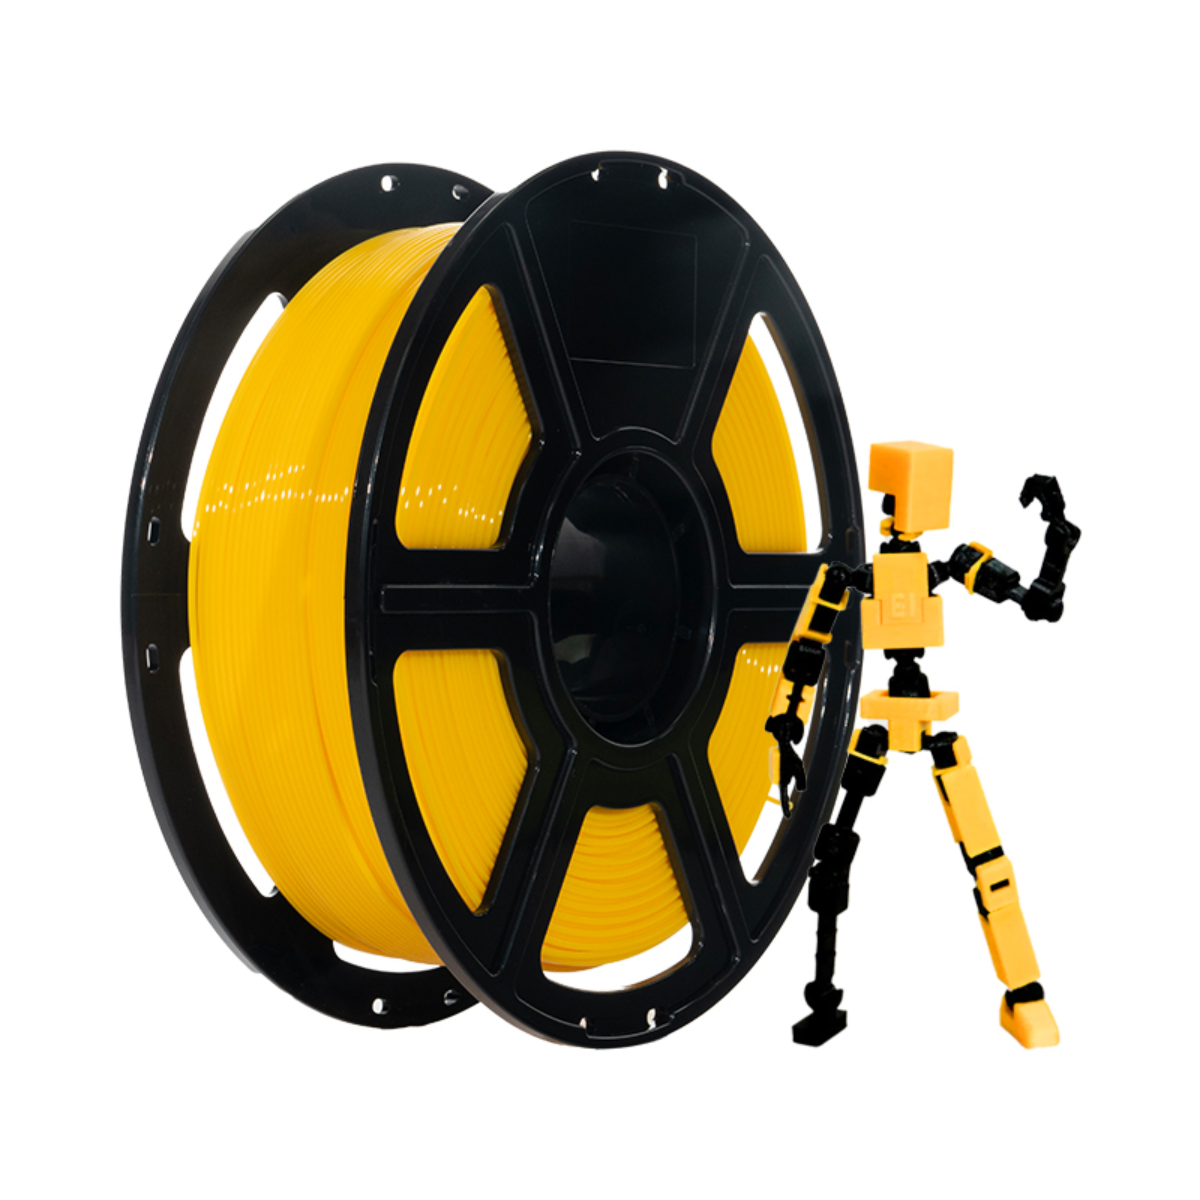
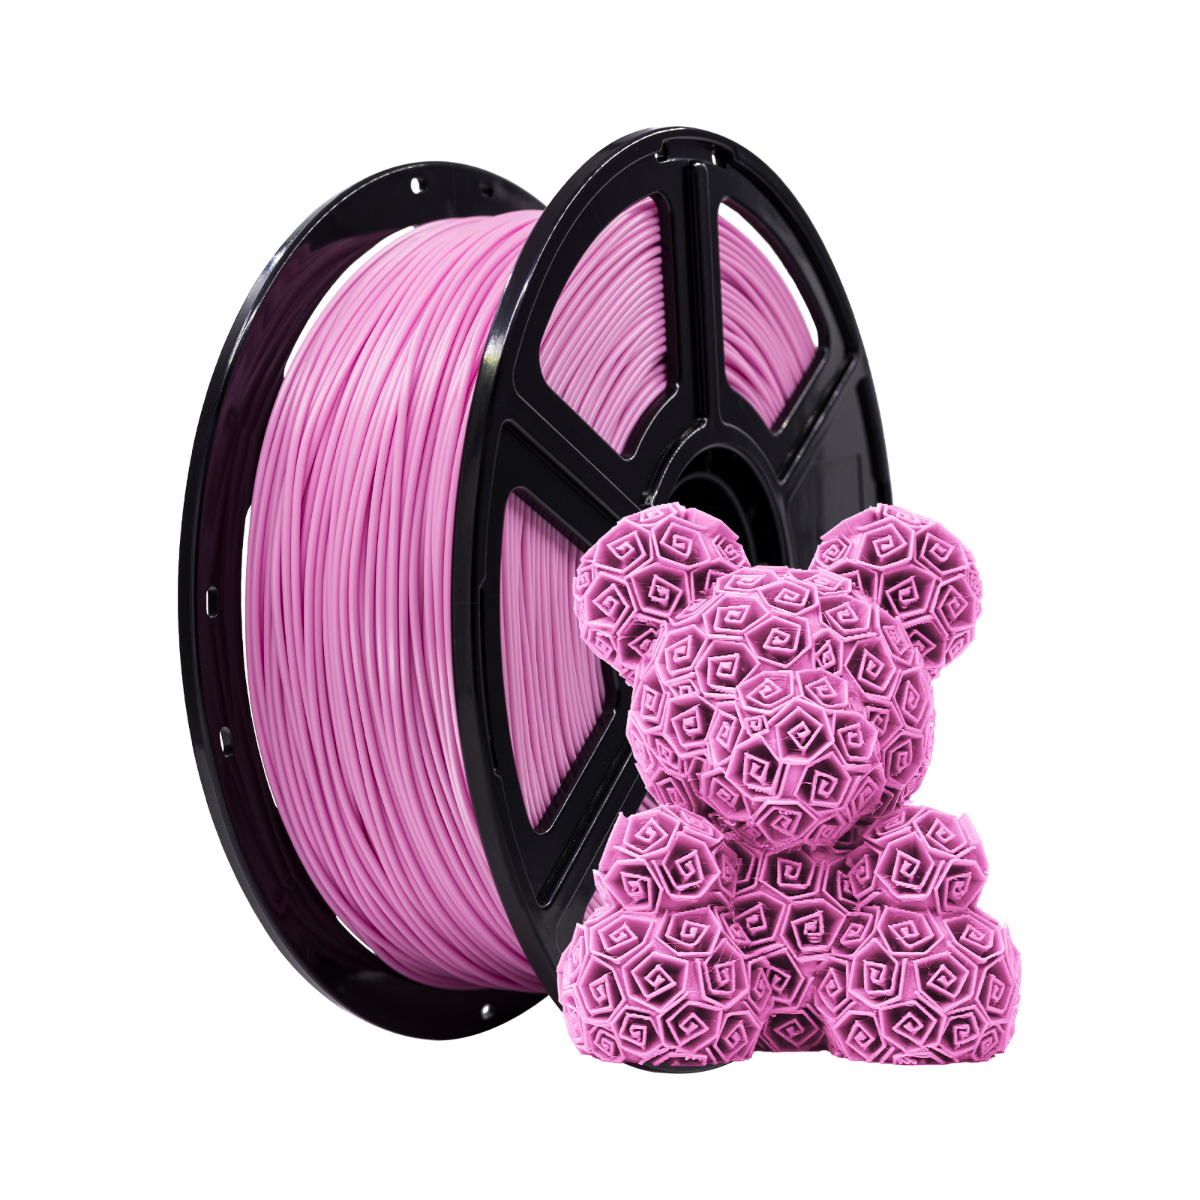
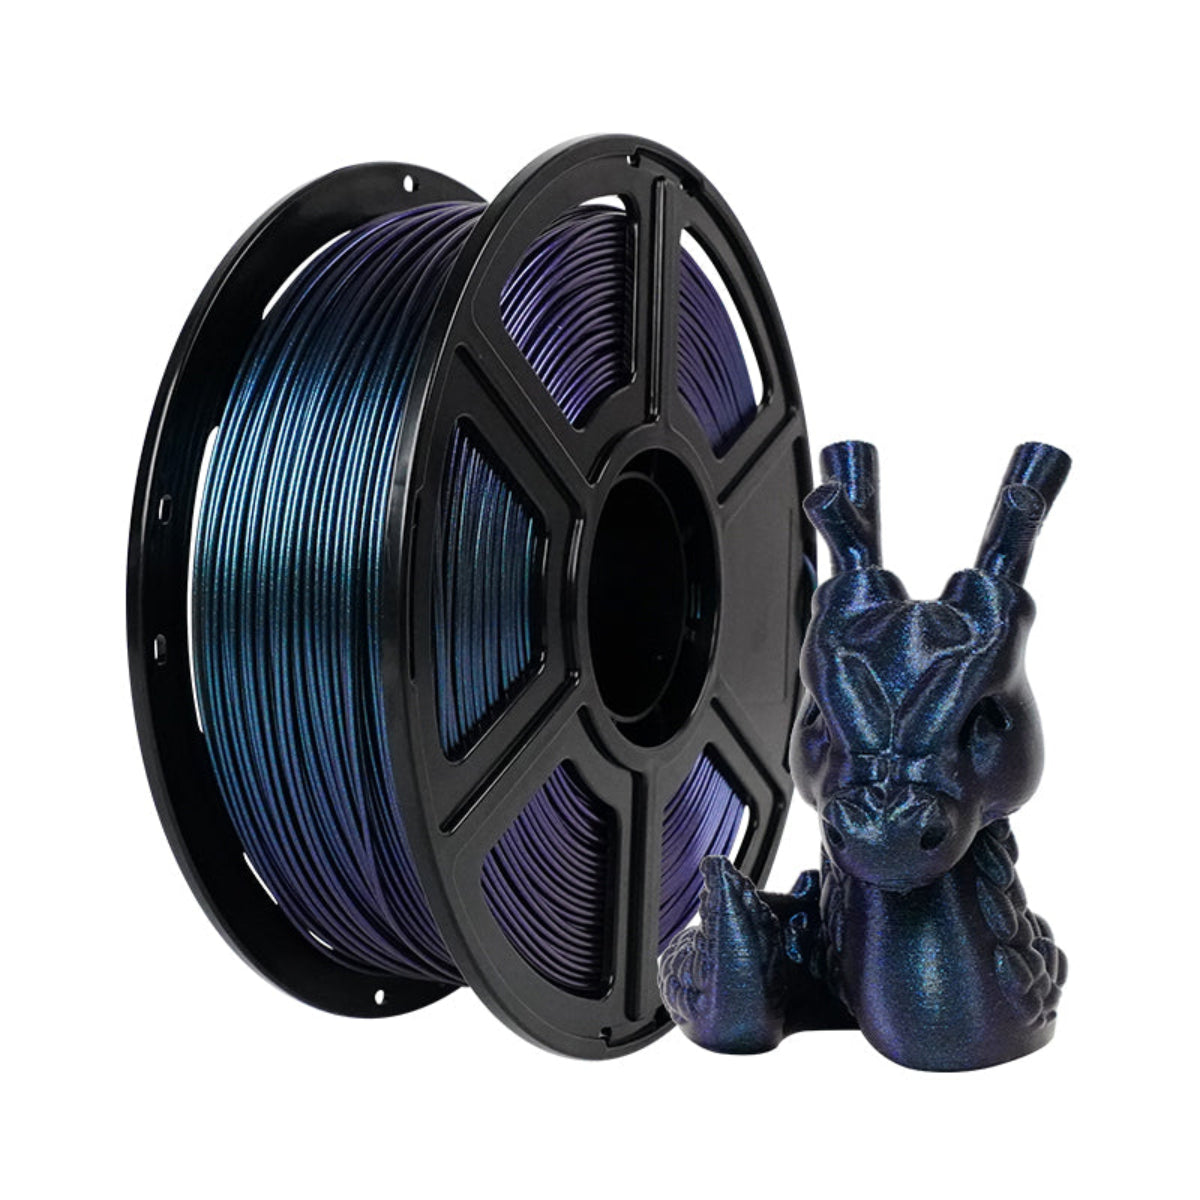
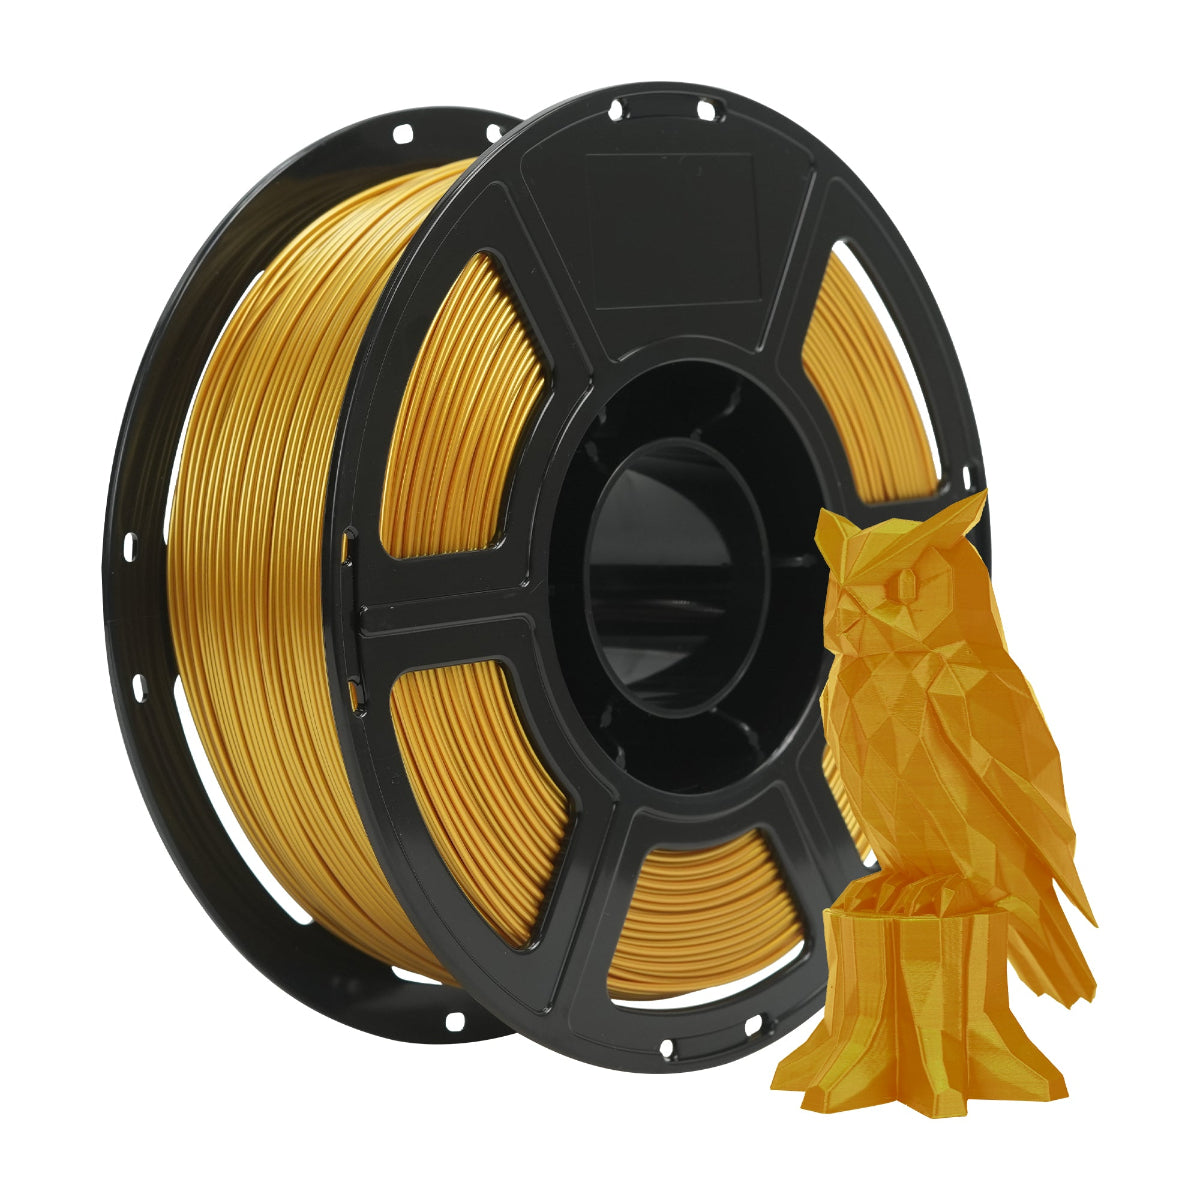
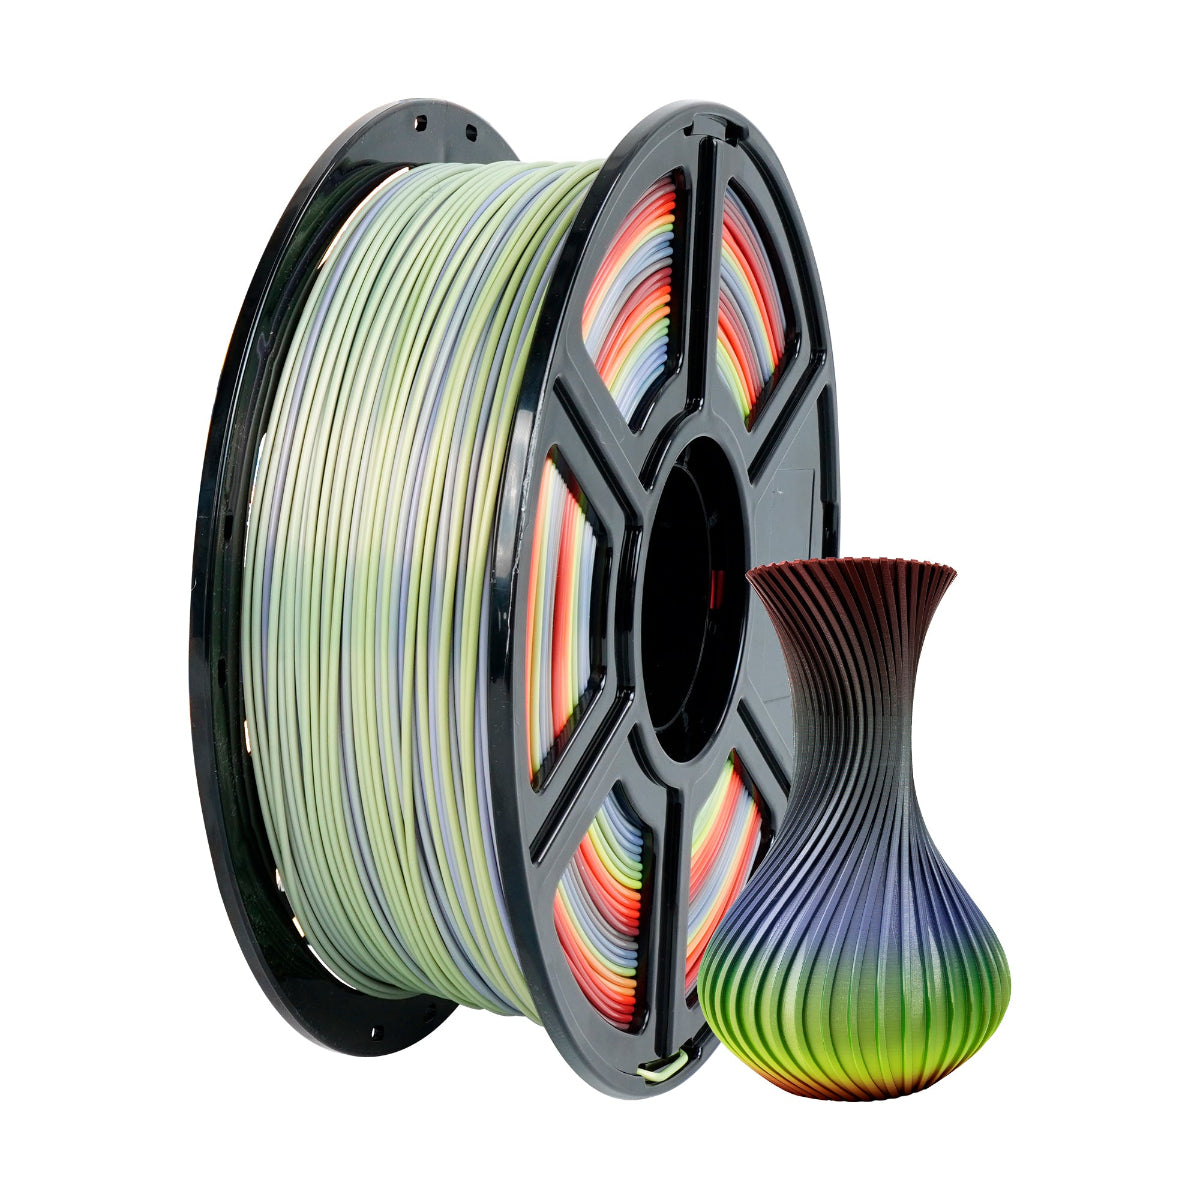
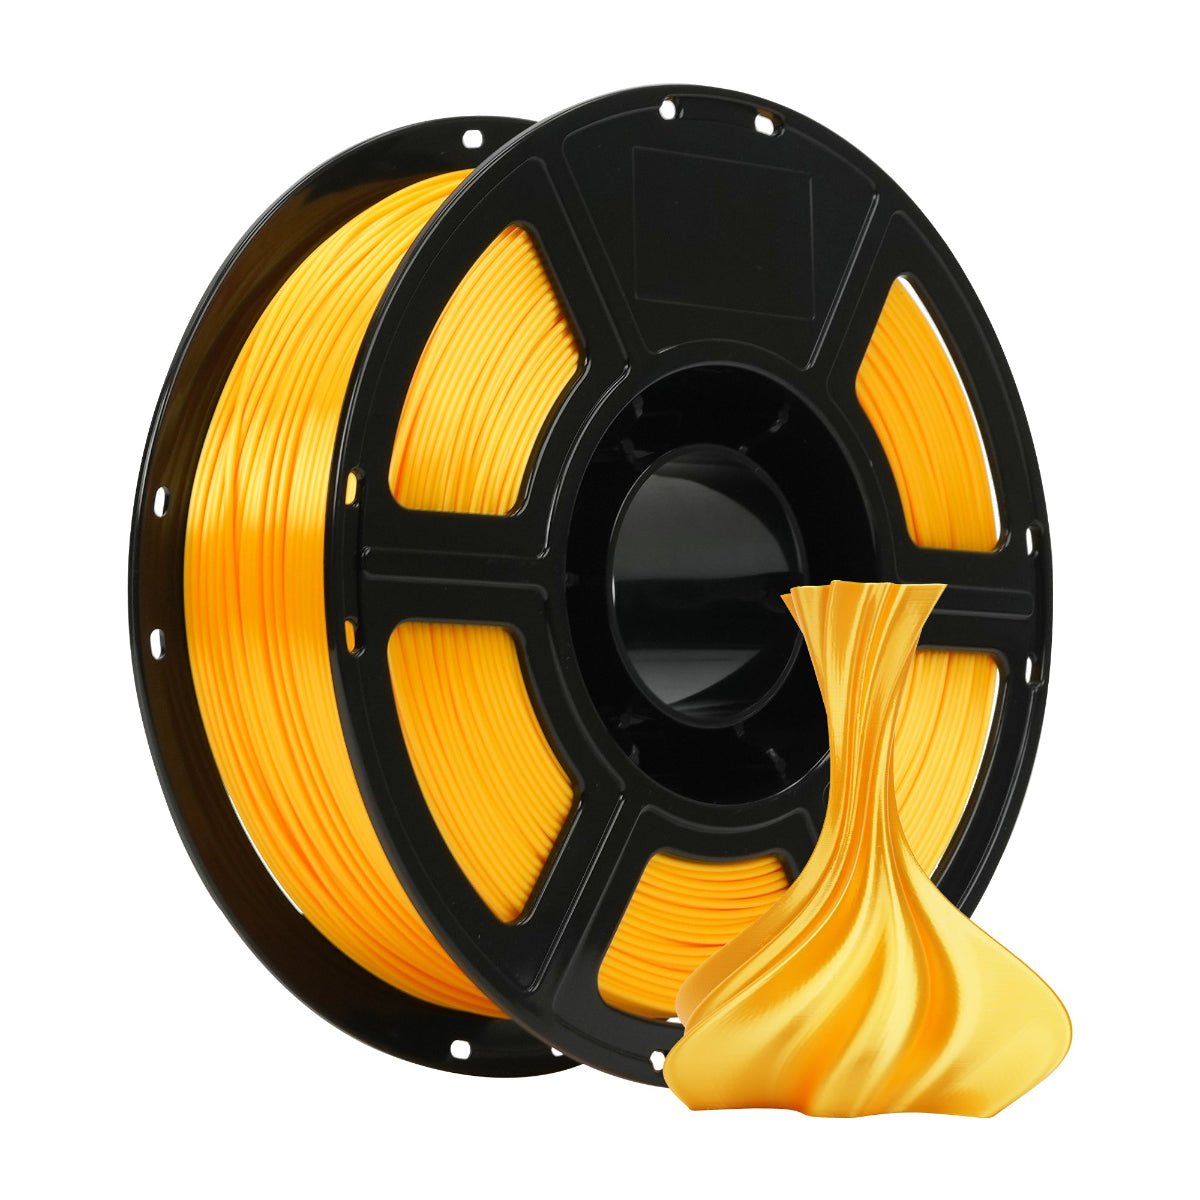
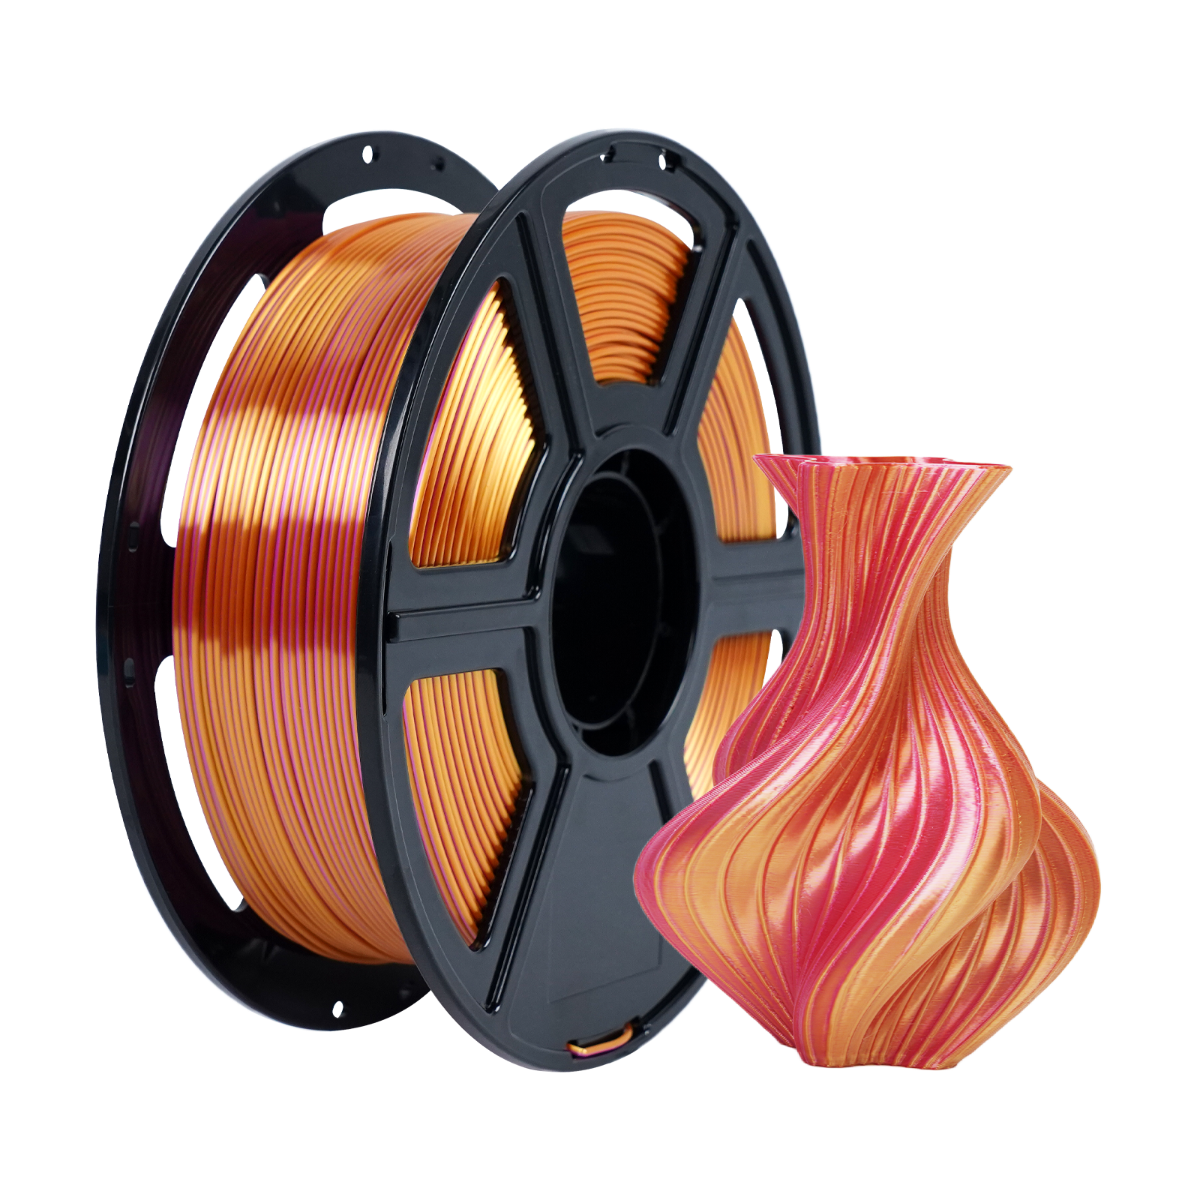
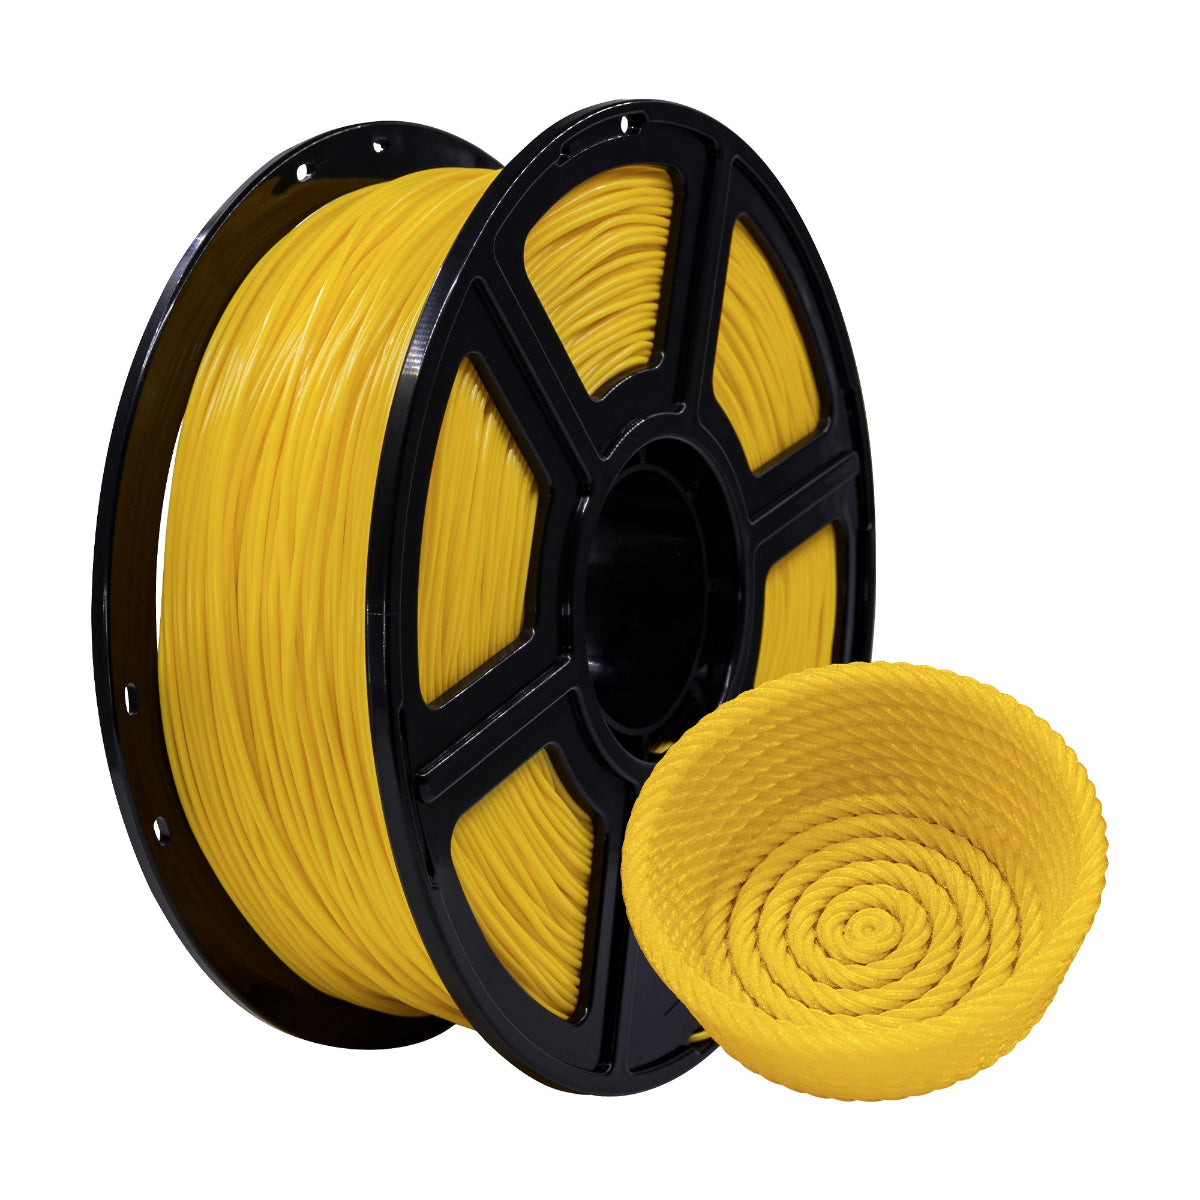
Best Filaments for Printing Enclosure Parts
|
Filament |
Best for |
Pros |
Cons |
|
PETG |
Structural parts (brackets, hinges) |
Heat-resistant (85°C), tough, chemical-resistant |
Slightly harder to print than PLA |
|
ASA |
Outdoor/exposed panels |
UV-stable, high heat deflection (90°C) |
Requires enclosure to print |
|
PLA Pro |
Decorative trim only |
Easy to print, vibrant colors |
Warps above 50°C |
Where to Download Model Files & Guides
Official Flashforge Resources
-Download Center: https://wiki.flashforge.com/en/knowledge_corner/printer-mod-and-diy
-Printables: https://www.printables.com/model/756373-flashforge-adventurer-5m-enclosure/
Step-by-Step Assembly Guide

Video Tutorials
- [Flashforge Official YouTube] How to 3D Print Enclosure for your Flashforge AD5M (Succeed with Mods!) (https://www.youtube.com/watch?v=6-RHAFNZ6jk )

