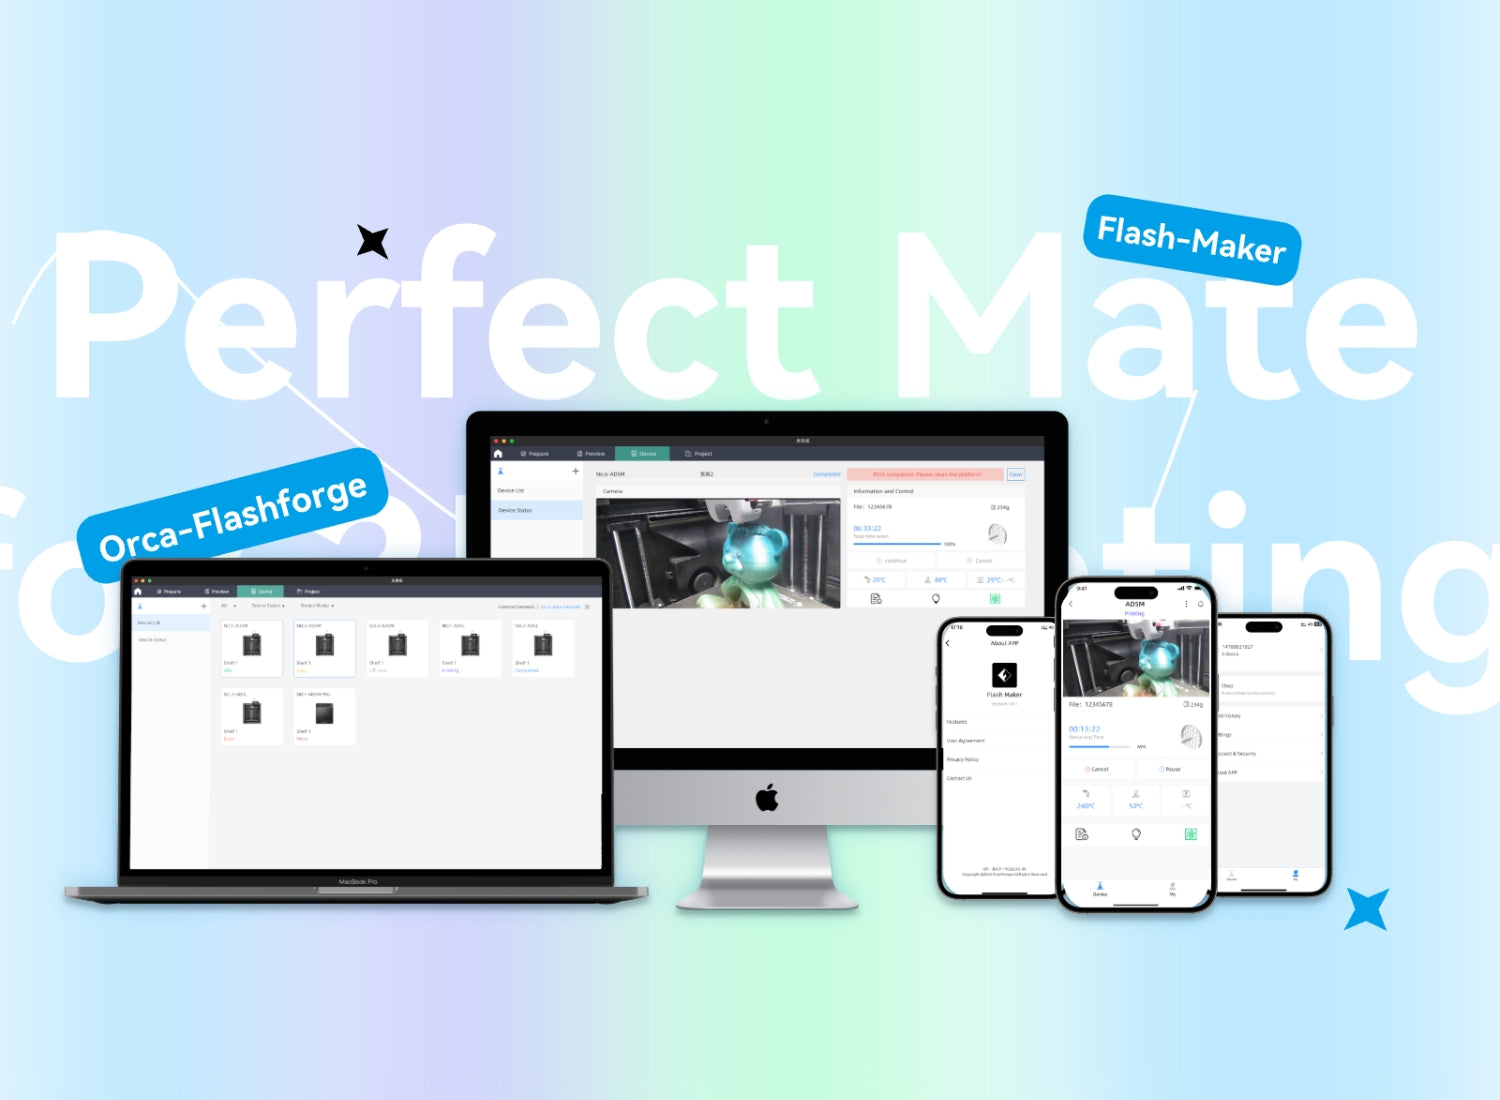


The Flashforge AD5X represents a significant leap forward in consumer-grade multi-material 3D printing. As the successor to the popular AD5M, this printer introduces an innovative IFS that enables true four-color printing without manual filament changes. Whether you're a professional looking to create complex prototypes or a hobbyist exploring colorful designs, the AD5X offers a streamlined workflow that simplifies multi-filament printing.
In this detailed guide, we’ll walk through everything you need to know about the AD5X—from unboxing to first prints—while highlighting its key features, setup process, and practical tips for optimal performance.
1. Unboxing the AD5X: What’s Included?
Opening the well-packaged box reveals a carefully organized set of components designed to get you printing with minimal hassle. Unlike some 3D printers that require extensive assembly, Flashforge has optimized the AD5X for quick setup.
1) Core Components
The Printer Itself: The AD5X arrives mostly pre-assembled, with the core-XY structure, build plate, and extruder already in place.
Documentation: A quick-start guide and warranty card provide essential instructions and support information.
Toolkit & Power Supply: Stored inside the printer chamber, the toolkit includes necessary wrenches and accessories for minor adjustments.
2) IFS Accessories
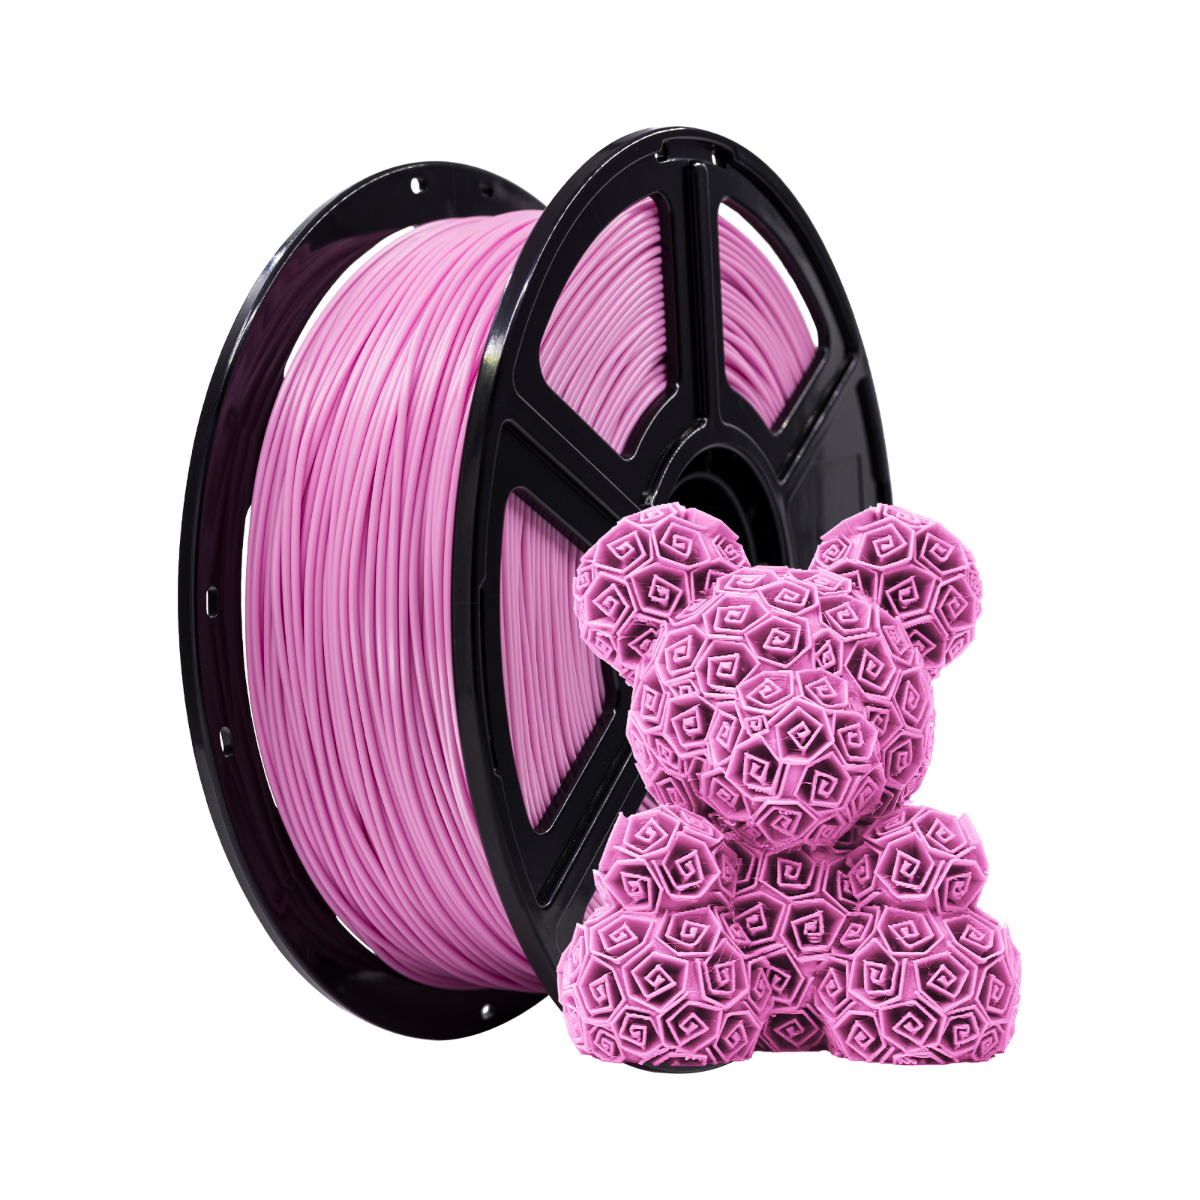
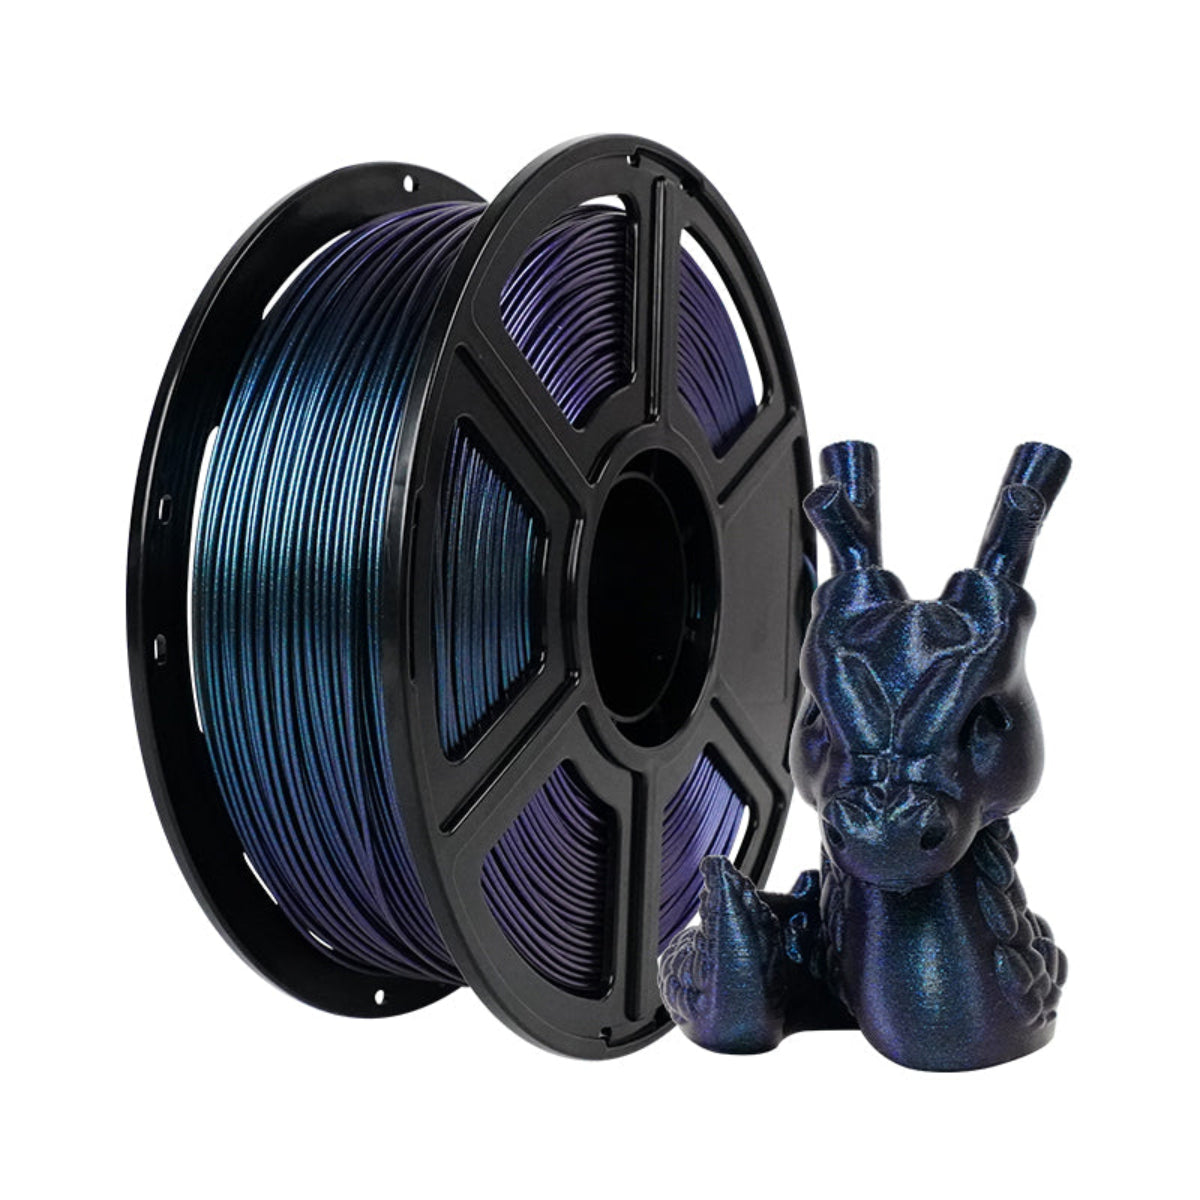
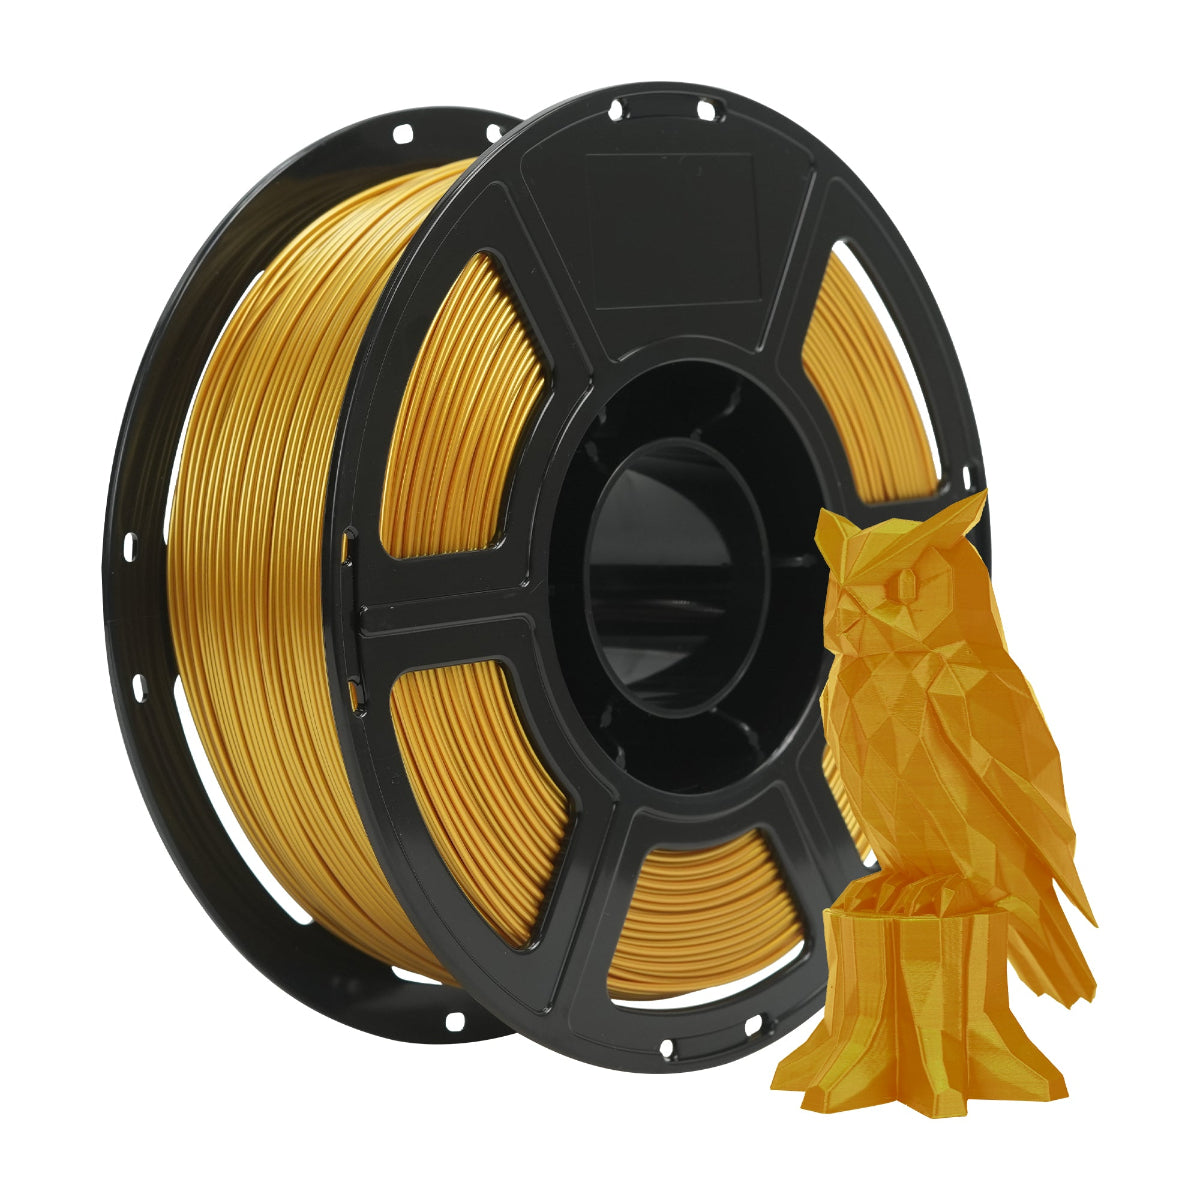
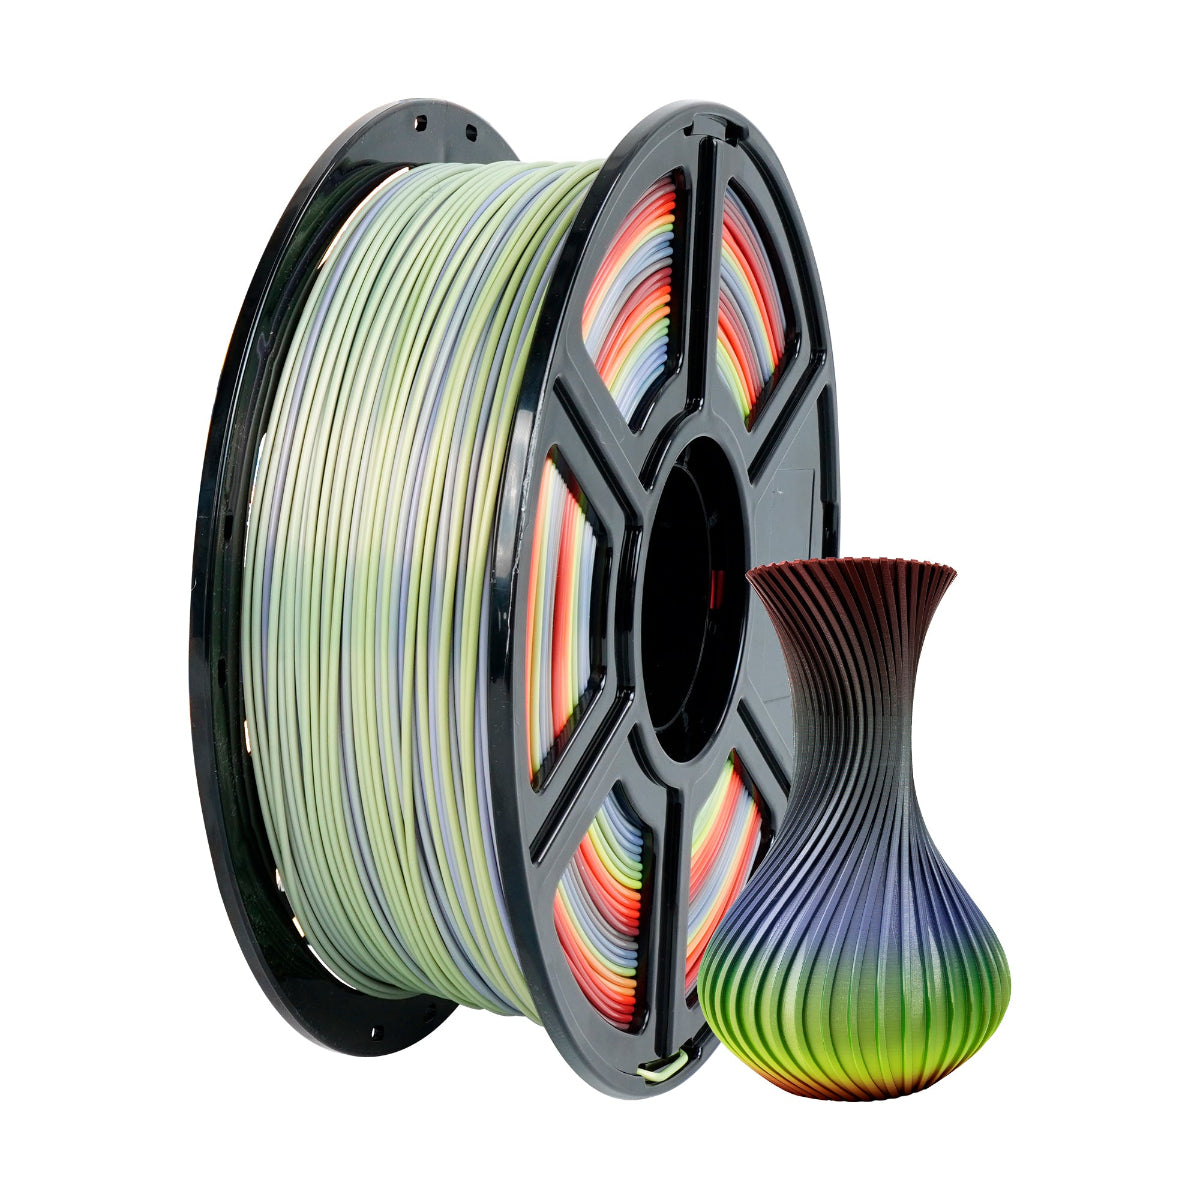
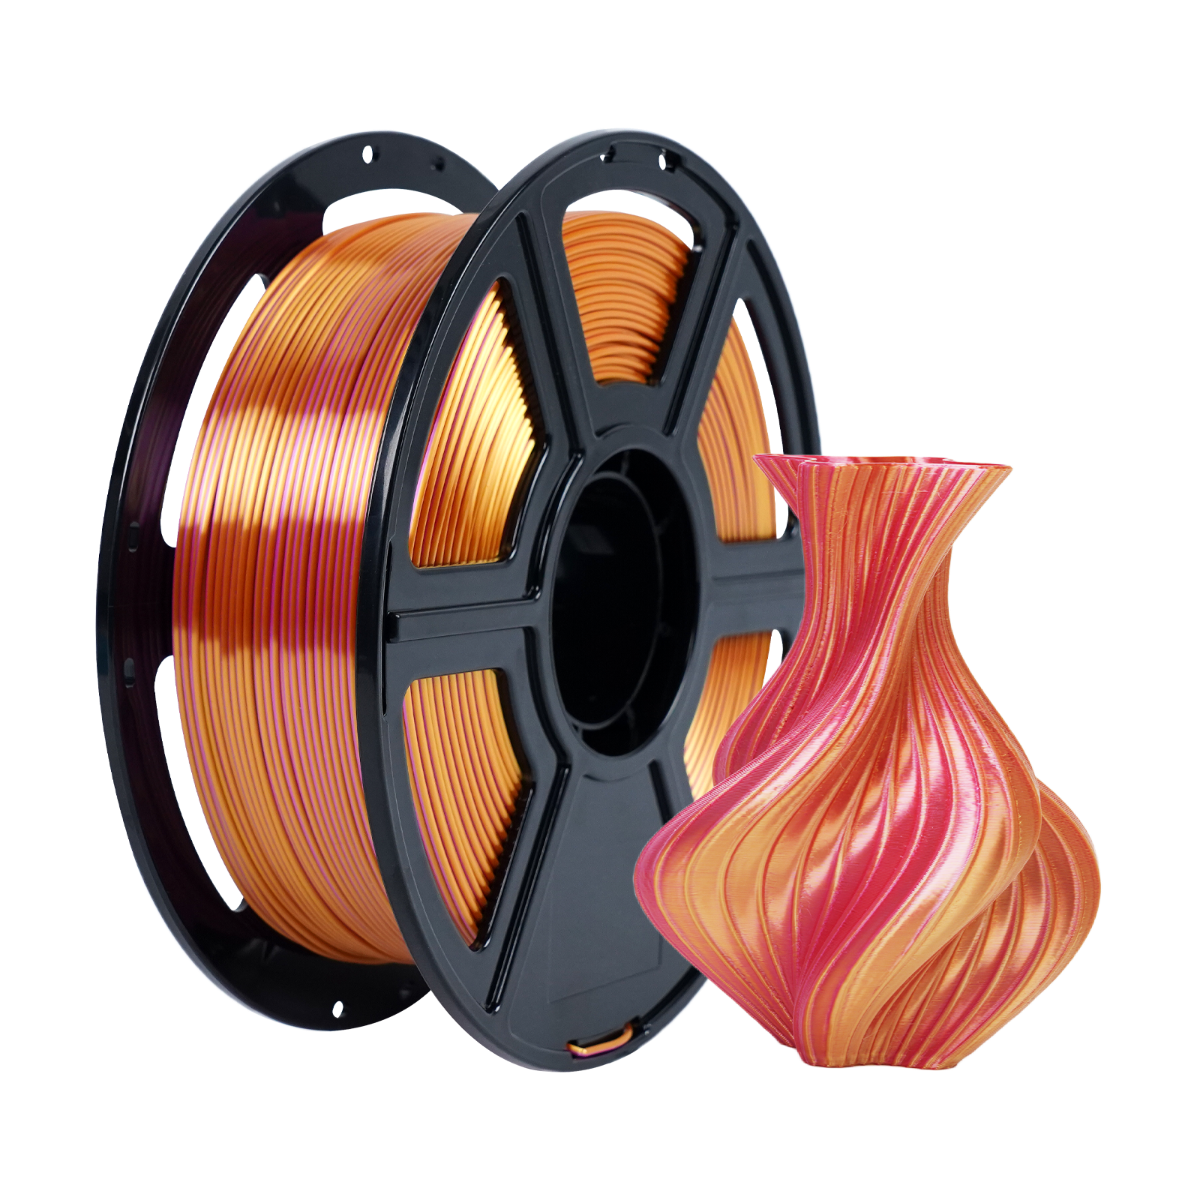
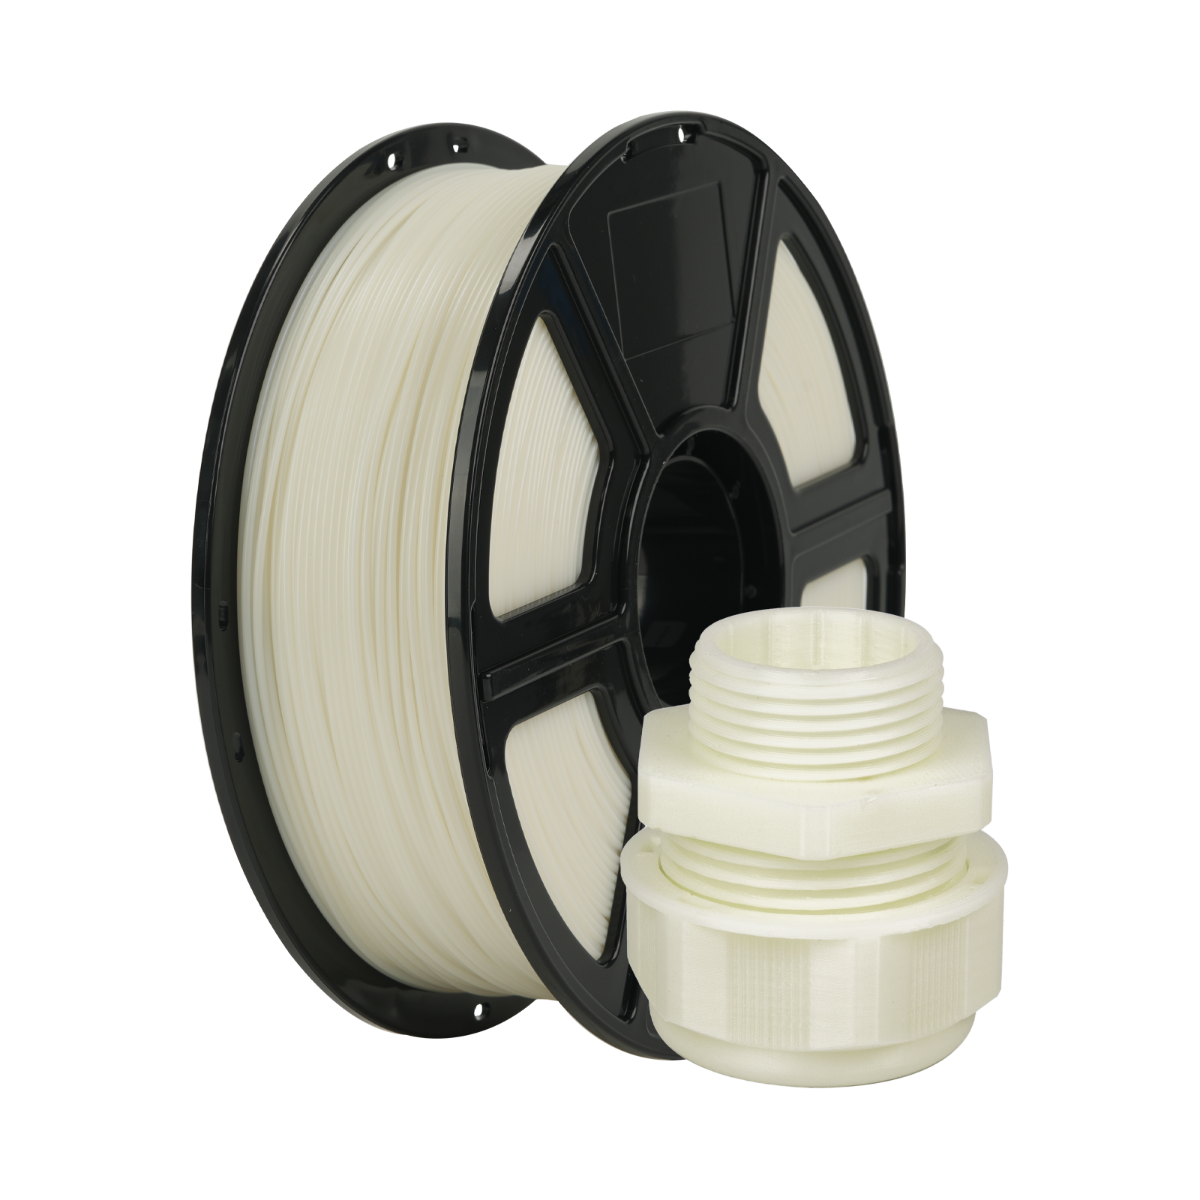
The standout feature of the AD5X is its ability to handle four filaments simultaneously. The package includes:
4-Color Module: The heart of the system, allowing seamless transitions between filaments.
Mounting Plate & Connection Cable: Ensures secure attachment to the printer.
4-in-1 Guide Tube: Prevents filament tangling during multi-material prints.
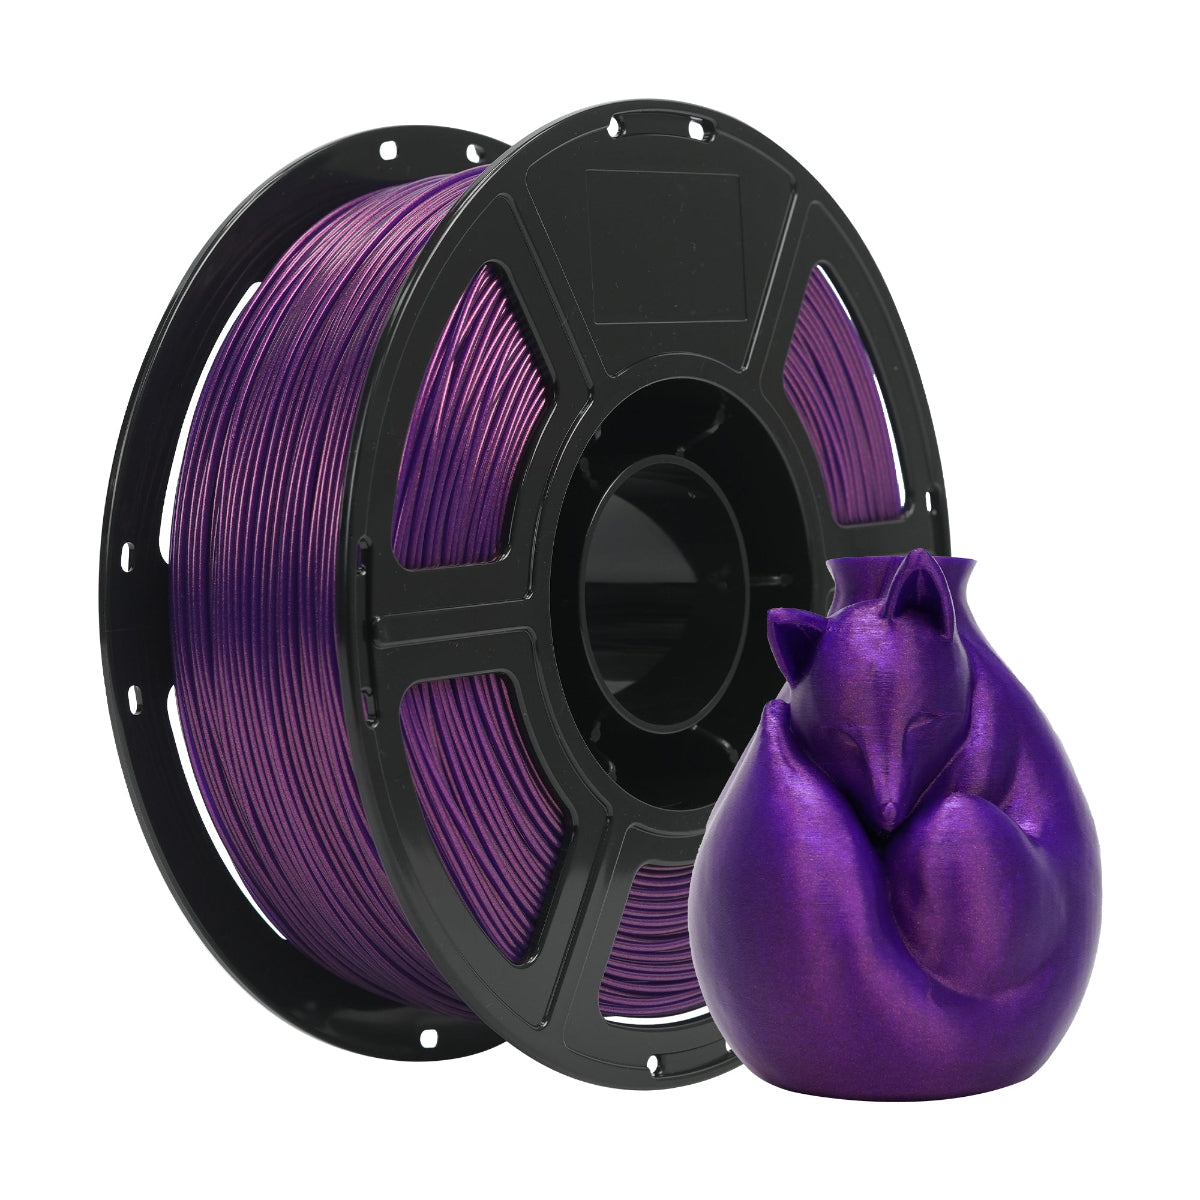
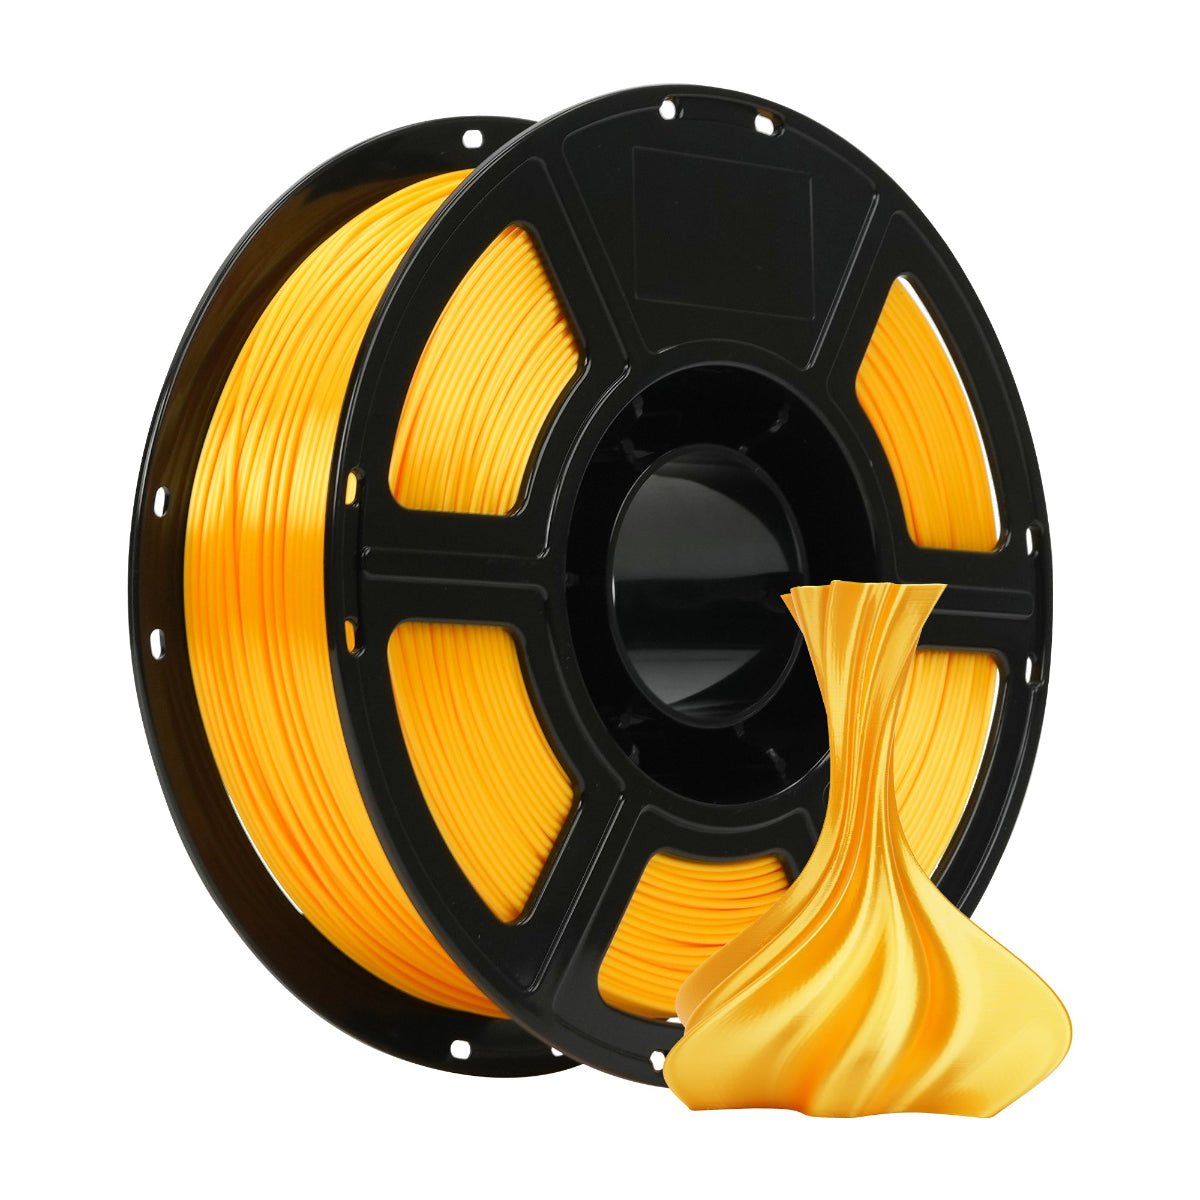
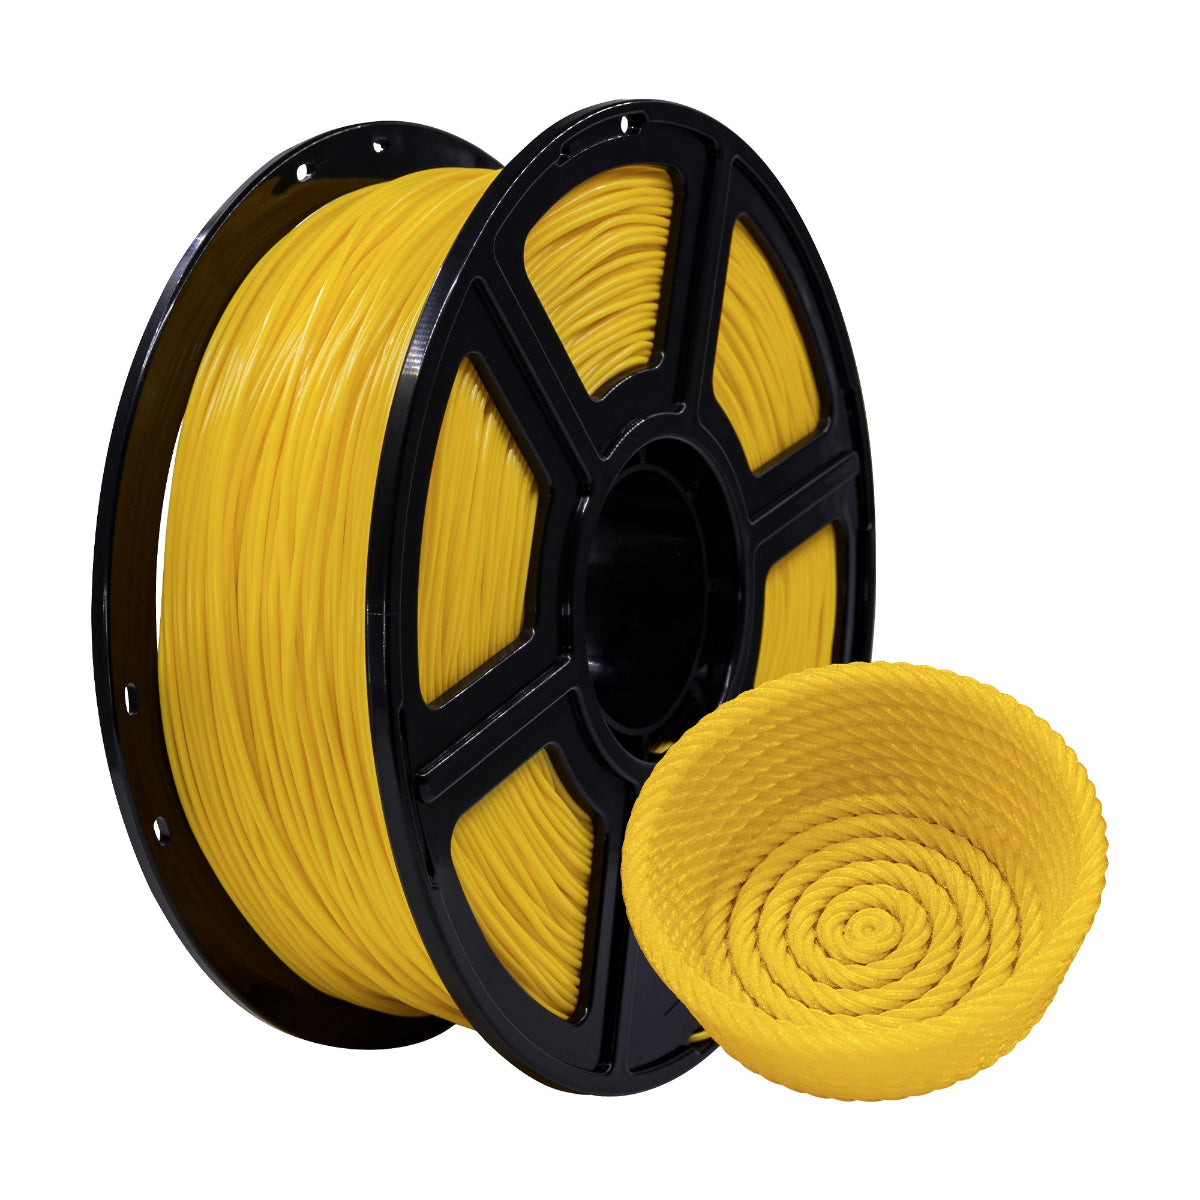
Filament Spools & Holders: Designed with numbered labels to avoid loading errors.
This thoughtful packaging ensures that users have everything needed to start printing right away.

2. Setting Up the AD5X: A Simplified Process
Flashforge has clearly prioritized user experience with the AD5X, refining the setup process based on feedback from previous models like the AD5M.
Step 1: Attaching the Touchscreen Display
One of the most notable improvements is the pre-connected display. Unlike earlier models where users had to manually connect the cables with screen, the AD5X ships with the screen’s wiring already secured. This eliminates a common pain point—incorrect cable connections—and reduces setup time.
To install the screen:
Gently rotate it into position, and align the mounting slots and press until it clicks into place. This small but meaningful enhancement reflects FlashForge’s attention to detail.

Step 2: Installing the IFS System
The IFS module is designed for tool-free assembly, making it accessible even for beginners. However, proper orientation is crucial:
Match the Numbered Tubes: Each filament path corresponds to a specific spool holder.
Secure the Mounting Plate: A simple twist-lock mechanism holds the module firmly in place.
A misaligned IFS can lead to filament jams, so double-checking the labels before proceeding is recommended.

Step 3: Preparing the Build Plate
Before auto-leveling, users must remove three factory-installed screws that stabilize the build plate during shipping. This step is easily overlooked but essential for vibration compensation calibration and auto bed leveling.
Use the included 2.0mm Allen wrench to loosen the screws.

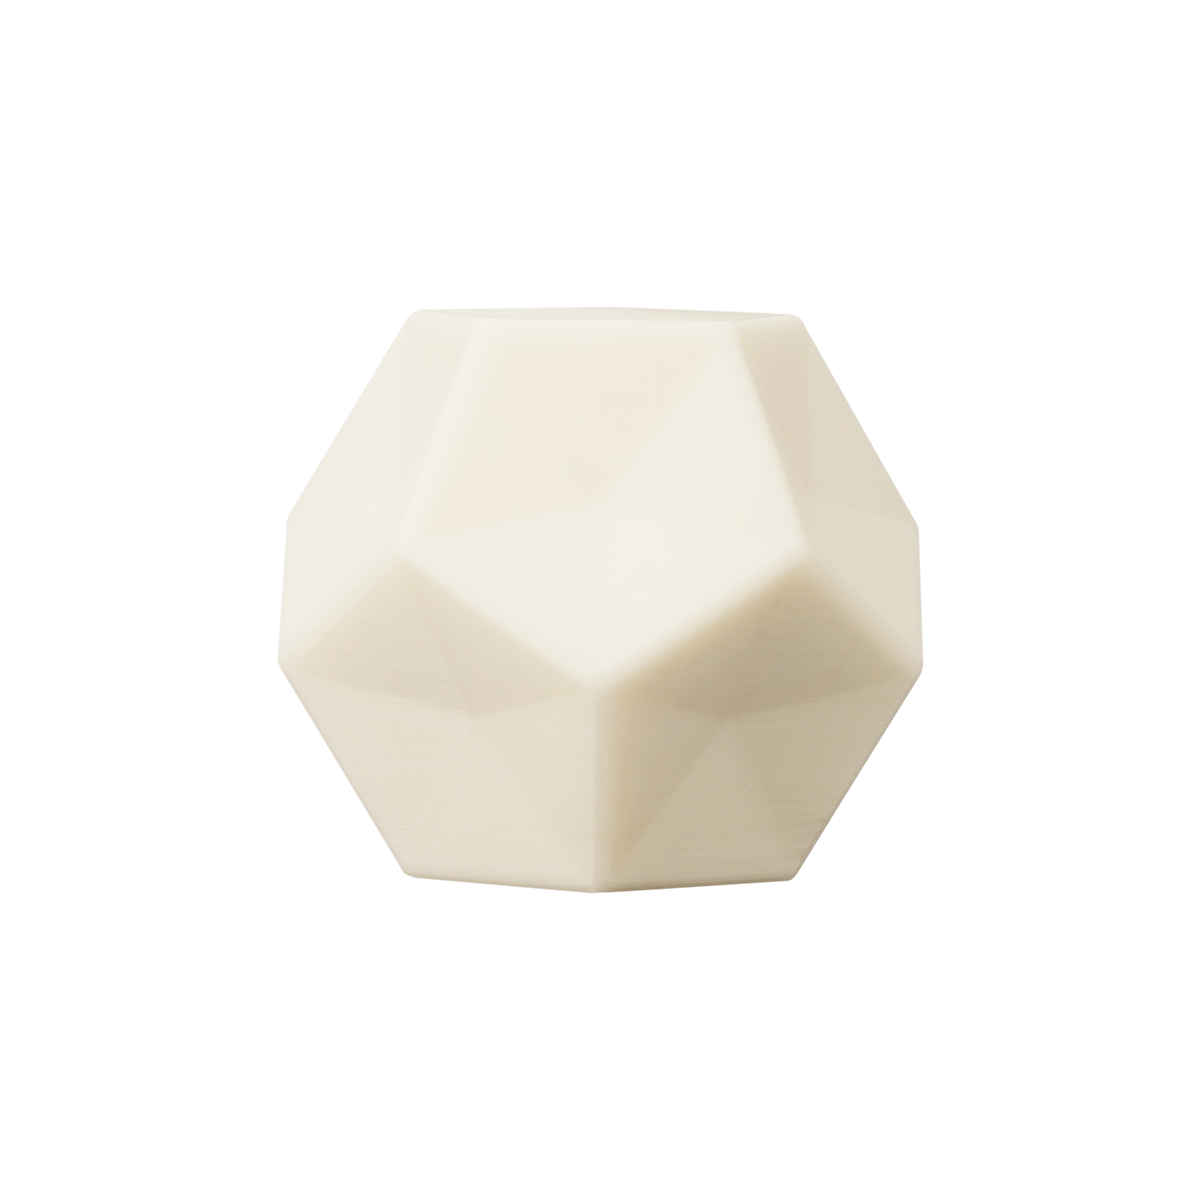
Then, users can follow the on-screen instructions to calibrate and level the printer. After that, they can print the built-in model file for a test print.
3. Who Should Buy the AD5X?
The AD5X excels in scenarios where color variety or material properties matter:
Educators: Demonstrate material science principles with multi-component prints.
Designers: Create photorealistic prototypes without post-processing.
Makers: Experiment with dissolvable supports or flexible/rigid hybrids.
While beginners may find the IFS system slightly more complex than single-filament printers, Flashforge’s streamlined setup and robust documentation flatten the learning curve.
For those seeking a plug-and-play multi-material solution, the AD5X stands out as a compelling choice—blending innovation with user-friendly design.
For a complete unboxing and setup guide, please watch our YouTube video: Flashforge AD5X: Unboxing and Hands-On Video
For more detailed information about the AD5X, please visit our product webpage: https://uk.flashforge.com/products/ad5x-3d-printer