


Why Clean Your 3D Printer?
Maintain Print Quality – Dust, debris, and filament residue can cause uneven layers, poor adhesion, and failed prints.
Extend Machine Lifespan – Proper care reduces wear on moving parts like rods, belts, and nozzles.
Prevent Print Failures – Clogged nozzles or dirty build plates lead to print errors and wasted filament.
Key Components to Clean for Your AD5M
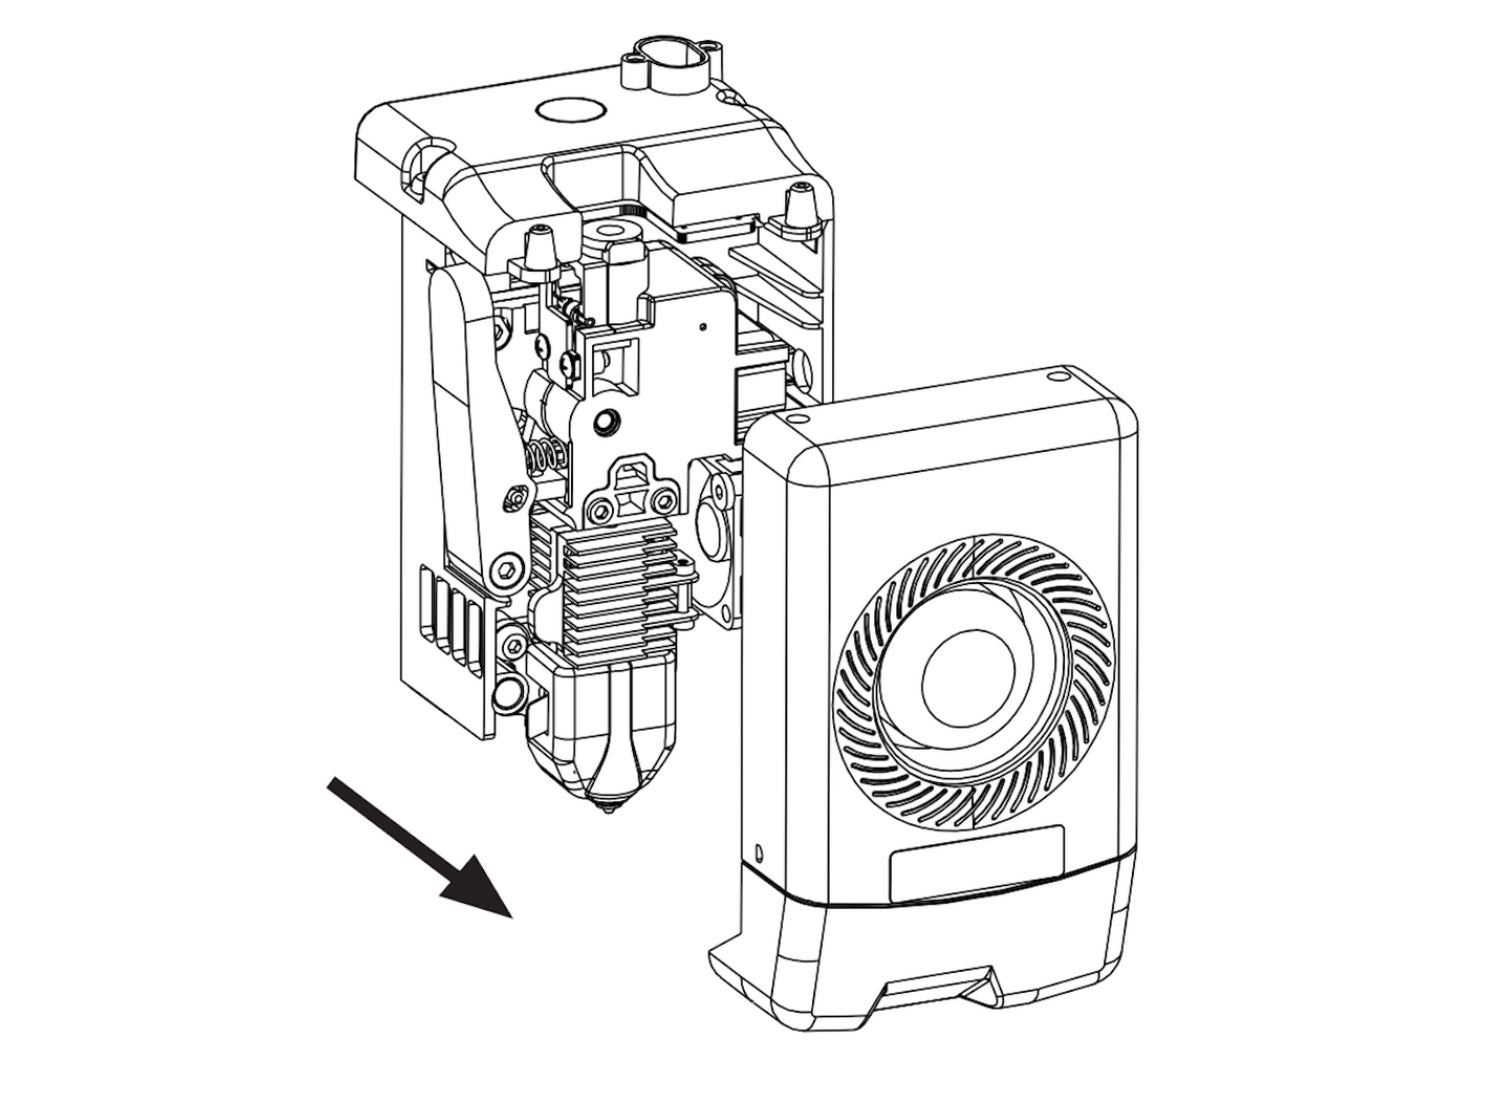
1. Nozzle
After completing a print job, your nozzle remains hot enough to melt residual filament. This often leads to small accumulations of melted material around the nozzle tip. If left uncleaned, this residue can cause several issues during your next printing session.
Potential Consequences of Neglected Nozzle Cleaning:
- Unwanted dripping onto prints, creating surface imperfections like blobs or stringing
- Compromised first-layer adhesion when debris transfers to the build plate
- Gradual buildup that may lead to partial clogs or inconsistent extrusion
Recommended Cleaning Method:
We strongly recommend using a brass brush to gently remove this residual filament. The brass bristles are ideal because they:
- Effectively scrub away melted material without risking damage
- Are softer than typical nozzle materials (stainless steel or brass)
- Maintain the nozzle's precision surface finish
2. Build Plate (Platform)
Residue from prints (glue, filament bits) can affect adhesion and leveling.
How to Clean:
Remove the plate and wash with warm water + mild soap (avoid harsh scrubbing).
For stubborn residue, use isopropyl alcohol (IPA) and a soft cloth.
Avoid scraping with metal tools to protect the coating.
3. Chamber (Interior)
Loose filament strands or failed print fragments often accumulate in the printing chamber, particularly at the bottom where they can cause the most problems. These material remnants frequently interfere with the printer's movement and, most commonly, disrupt the platform's calibration and leveling functions.
The solution is simple yet effective:
- Use a soft-bristled brush to sweep away debris
- Pay special attention to the chamber floor where particles tend to collect
- Remove any stubborn fragments with tweezers if necessary
This quick cleaning routine helps maintain your printer's precision and prevents potential calibration issues before they affect your prints. For best results, we recommend performing this maintenance after every few print jobs or whenever you notice accumulated debris.
4. Lead Screws & Rails
To maintain optimal print quality and prevent mechanical wear, it's important to regularly clean and lubricate your 3D printer's linear rods. Dust and filament particles can accumulate on the rods over time, reducing movement accuracy and potentially causing uneven prints. For proper maintenance, first wipe down the rods thoroughly with a dry microfiber cloth to remove any debris. Then apply a thin layer of PTFE lubricant or light machine oil to ensure smooth motion of the bearings.
Maintenance
1. After every 1,000 hours of printing, please perform maintenance on key components: Wipe the X,Y, and Z-axis linear shafts clean with a dust-free cloth or paper.
2. After cleaning the Z-axis lead screw, please apply the provided or a suitable lubricant evenly.
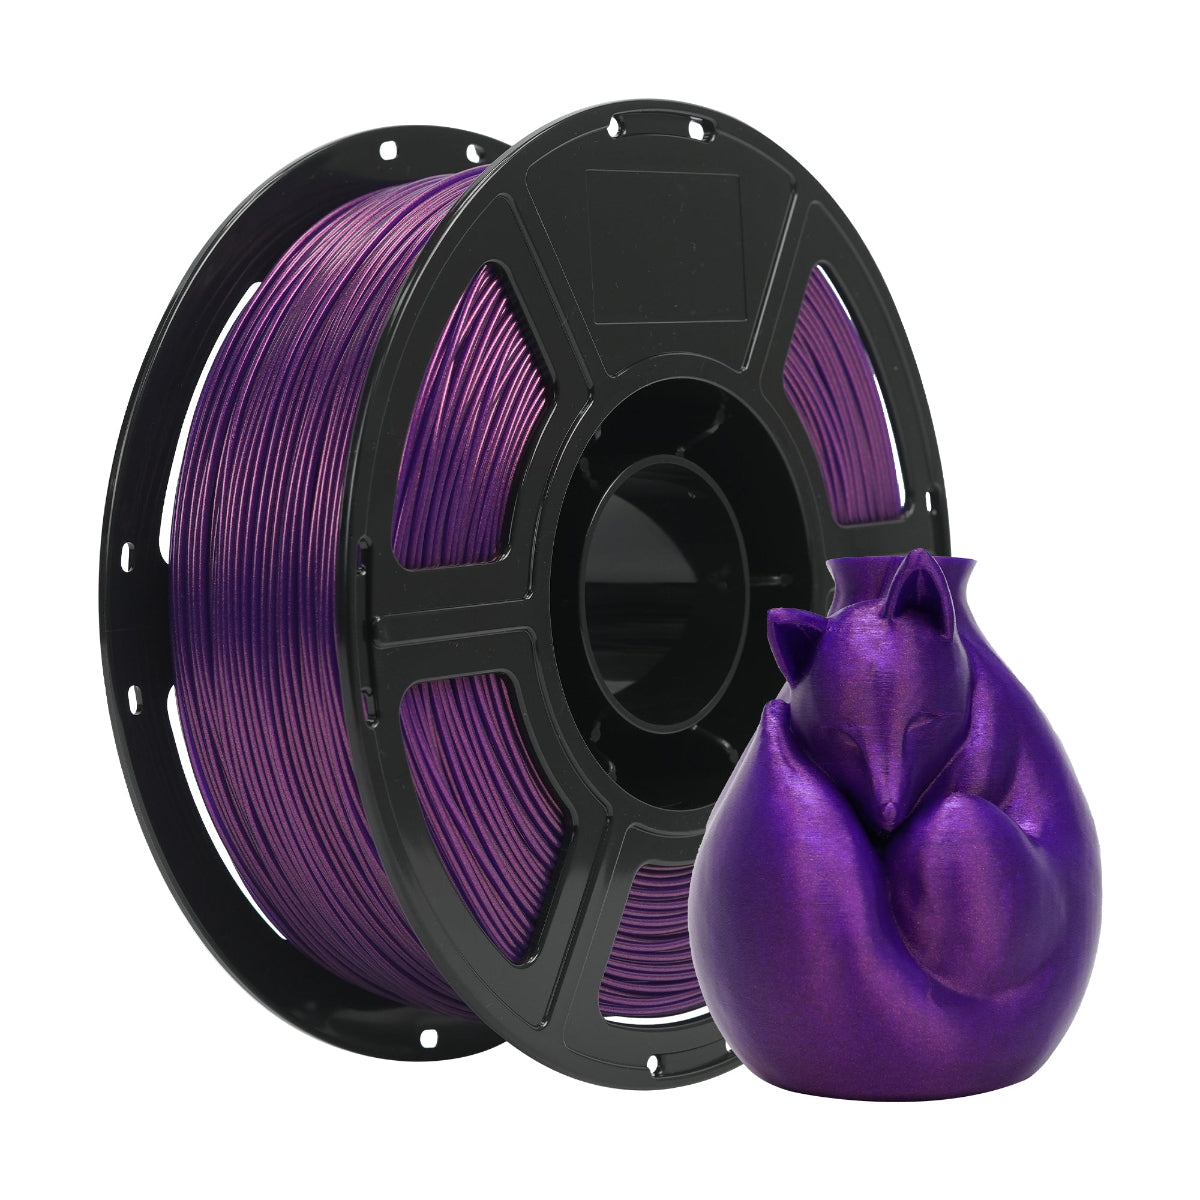
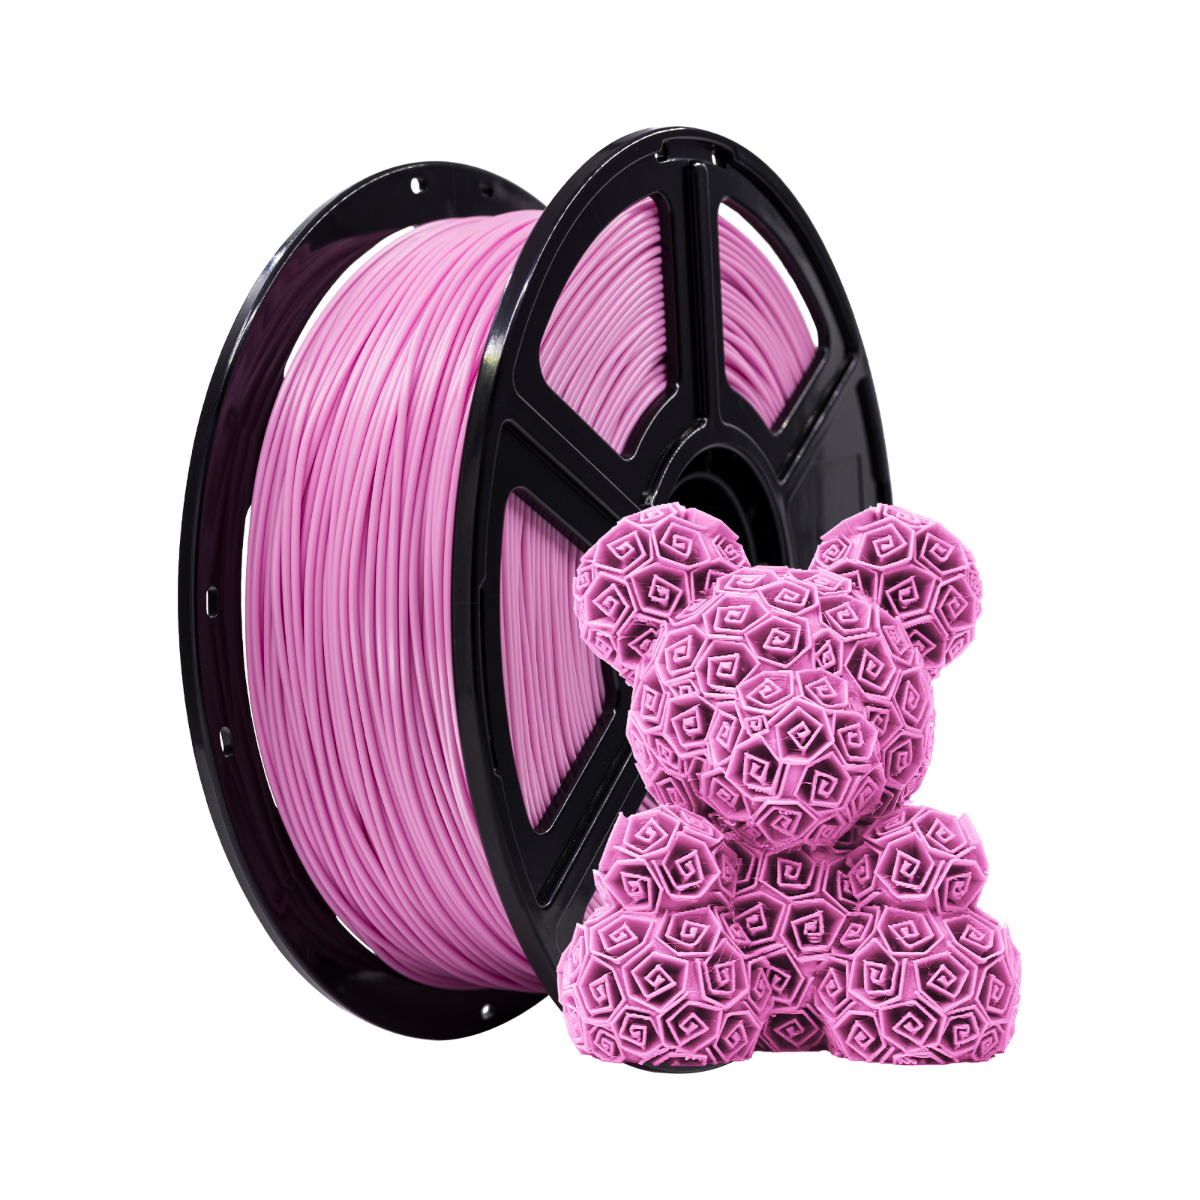
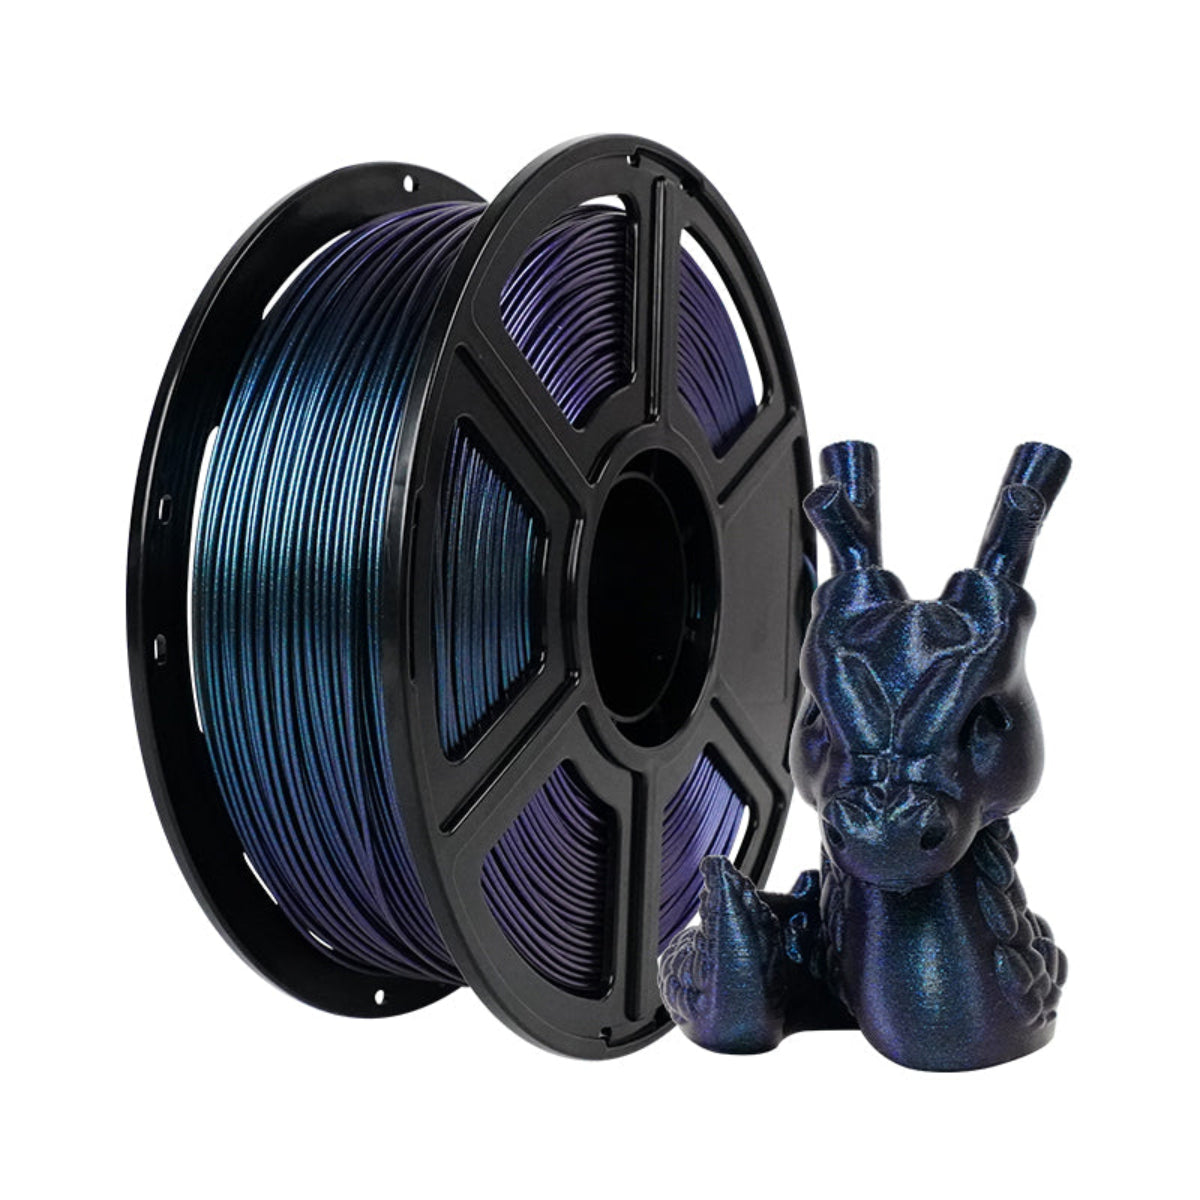
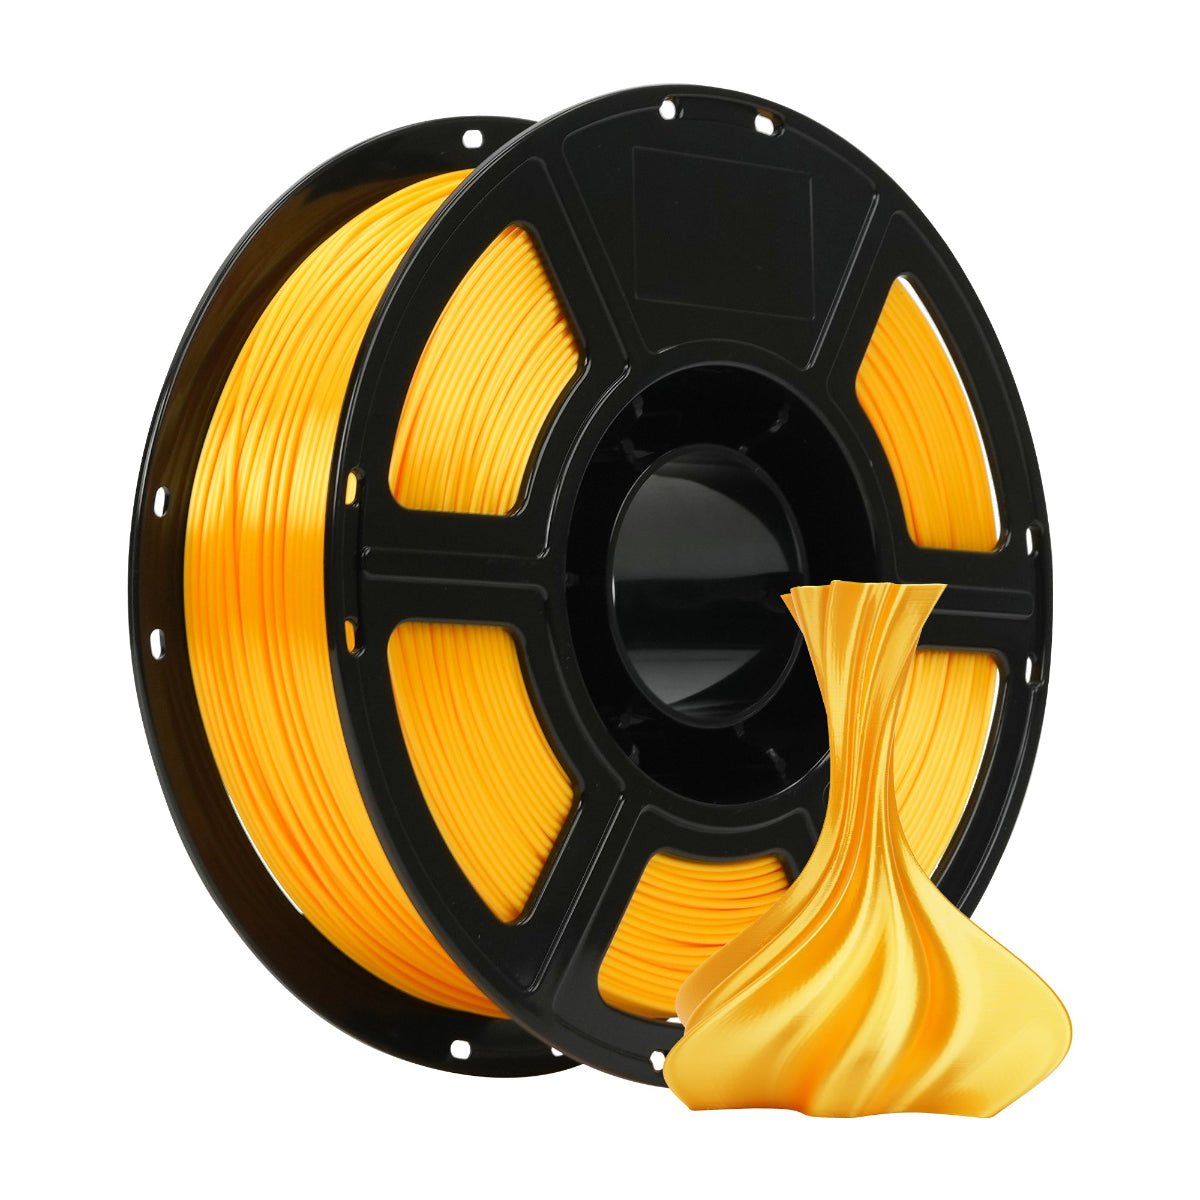
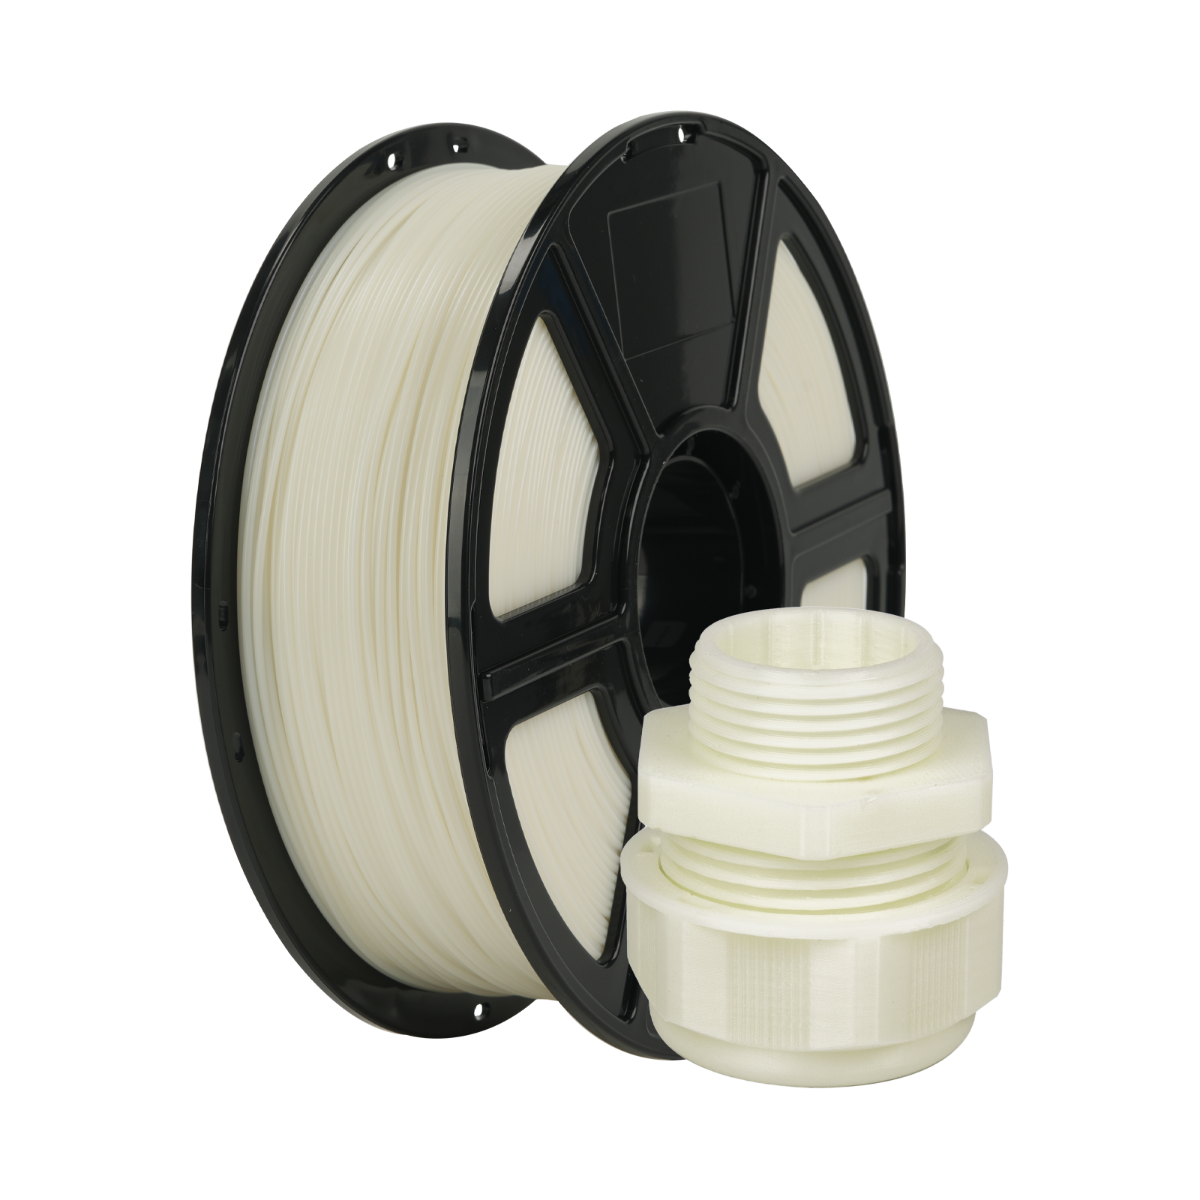
3. To prevent filament from absorbing moisture, breaking, or causing issues with the guide tube, please unload the filament from the printer and store it in a sealed, moisture-proof container if the printer will be idle for more than two days.
4. Please promptly clear any filament or foreign objects from the lead screw.